VAPP ADC First Usage
Preparing to use
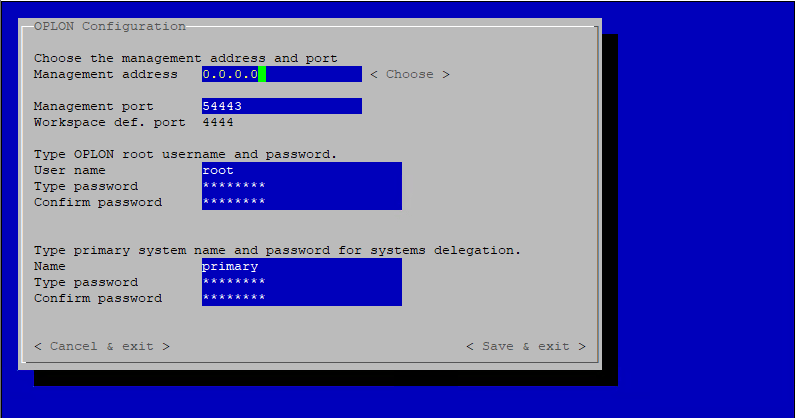
To use Oplon Global Distributed Gateway In the VAPP version, you only need to have installed and assigned the addresses to the network interfaces. You can check whether the addresses have been configured correctly through the VAPP console that can be reached with the virtualization system you are using by typing login and password:
Virtual Appliance default login and password:
- Login: administrator
- Password: adminadmin

Type: oplonsetup property, you will be prompted for the root password: adminadmin property

check the address on which you can connect the browser for configuration es.:
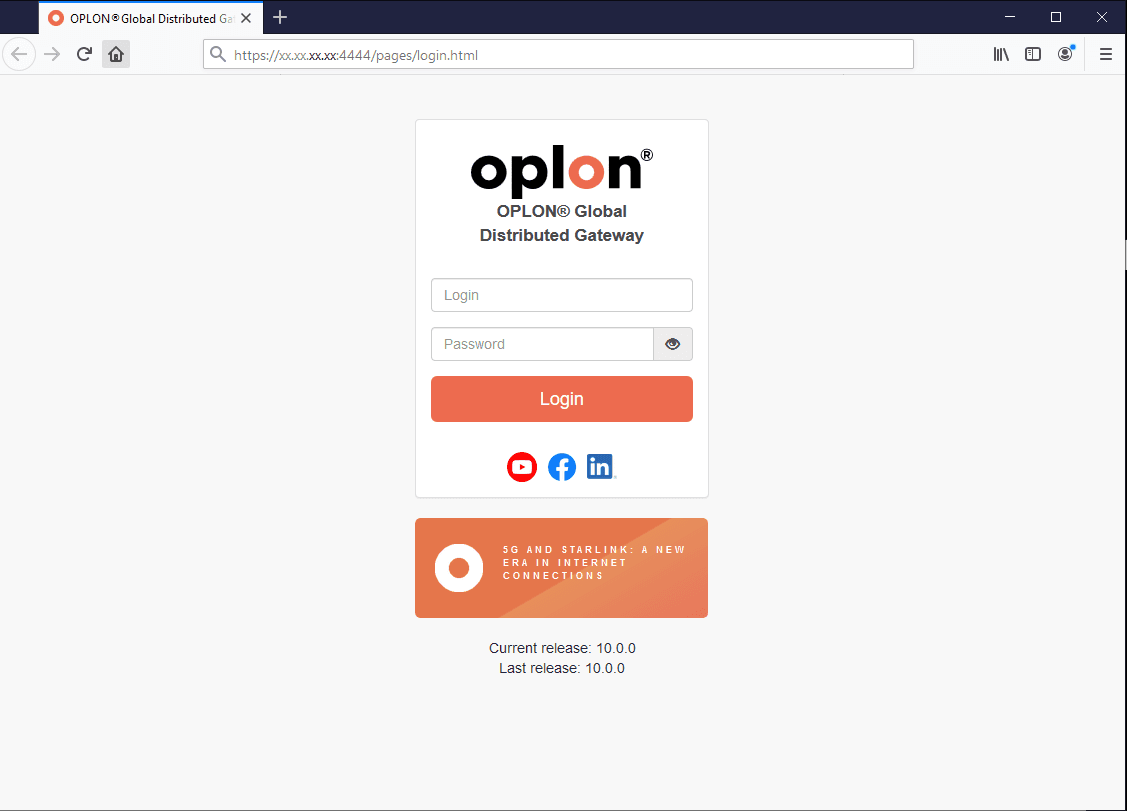
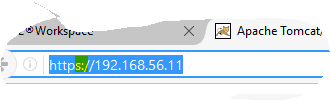
Then connect from your seat with the browser at the door 4444 es.:
https://192.168.56.11:4444
At the authentication request, type the user name and password specified in the character console, optionally re-operation es.:
[ root ]
[ adminadmin ]
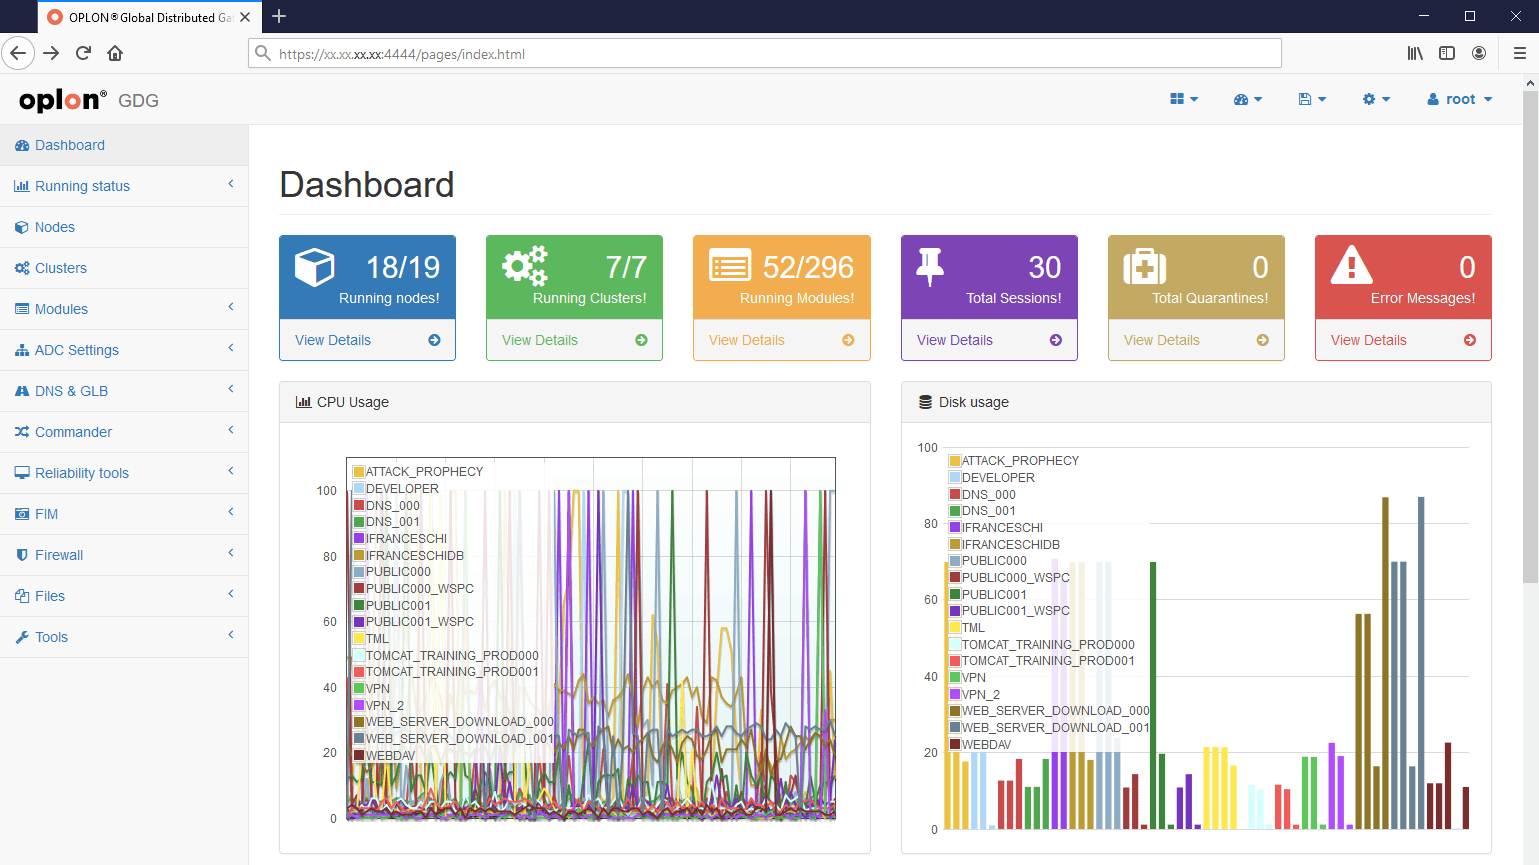
The Dashboard will appear to start the activity:
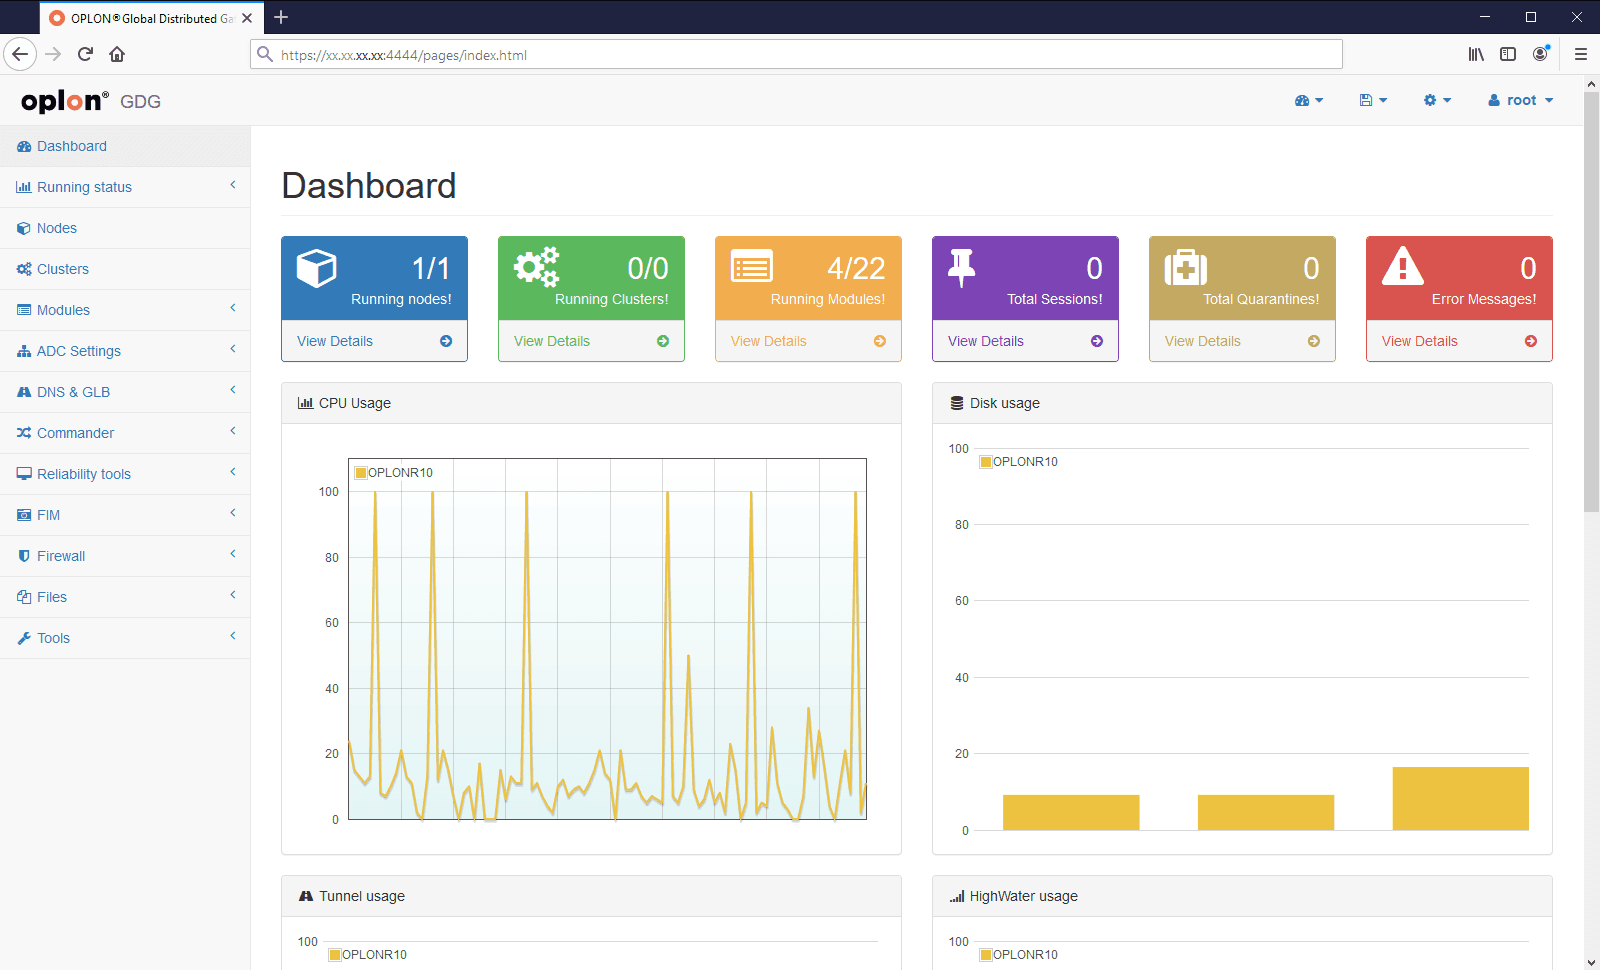
Dashboard overview
Oplon Dashboard is the interface designed to be used on all available terminals that support HTML5.
Browser:

Mobile:

The Dashboard consists of a visible or actionable choice component depending on the screen size. You can also use very useful large monitors in datacenter control rooms.
Datacenter:
Setting up the first http service
Oplon Global Distributed Gateway it has licenses in it that allow them to be used in cases provided by the licenses (see legal in https://www.oplon.net (opens in a new tab)).
When they left, VAPP has already activated a demo-licensed ADC service.
The license is unlimited over time but allows only one ADC module to run and an unlimited number of listeners within the ADC module but with up to 3 balanced services.
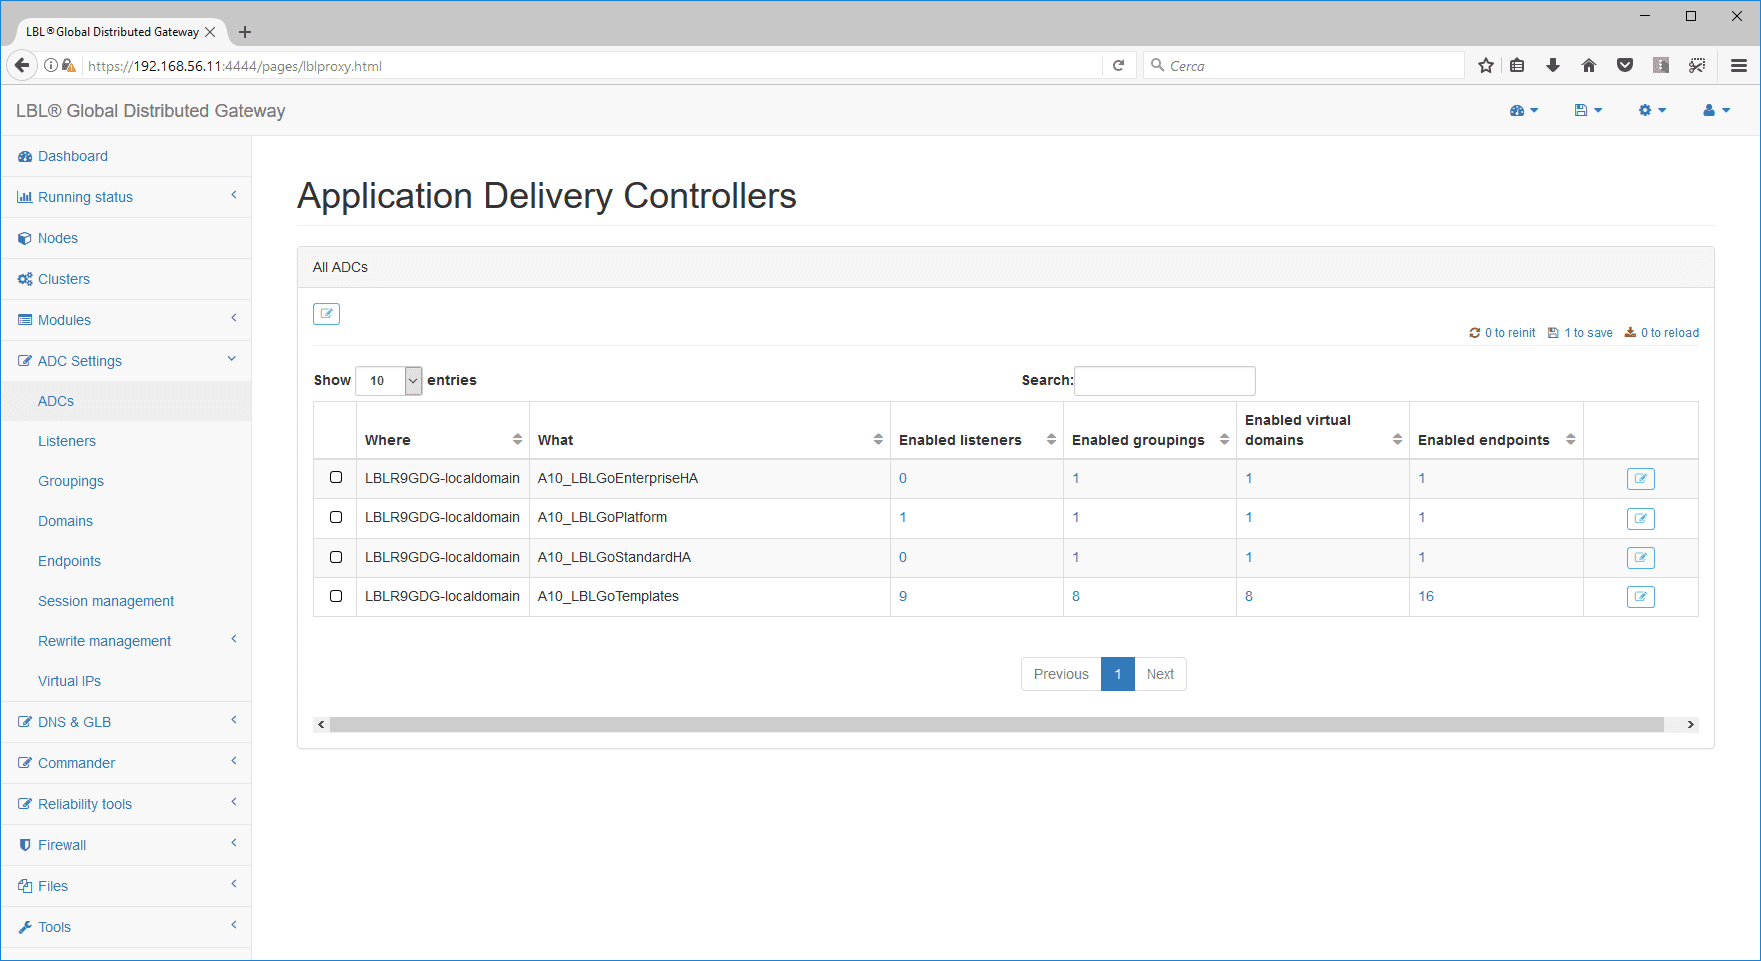
To run the first setup, choose ADC Settings >ADCs:
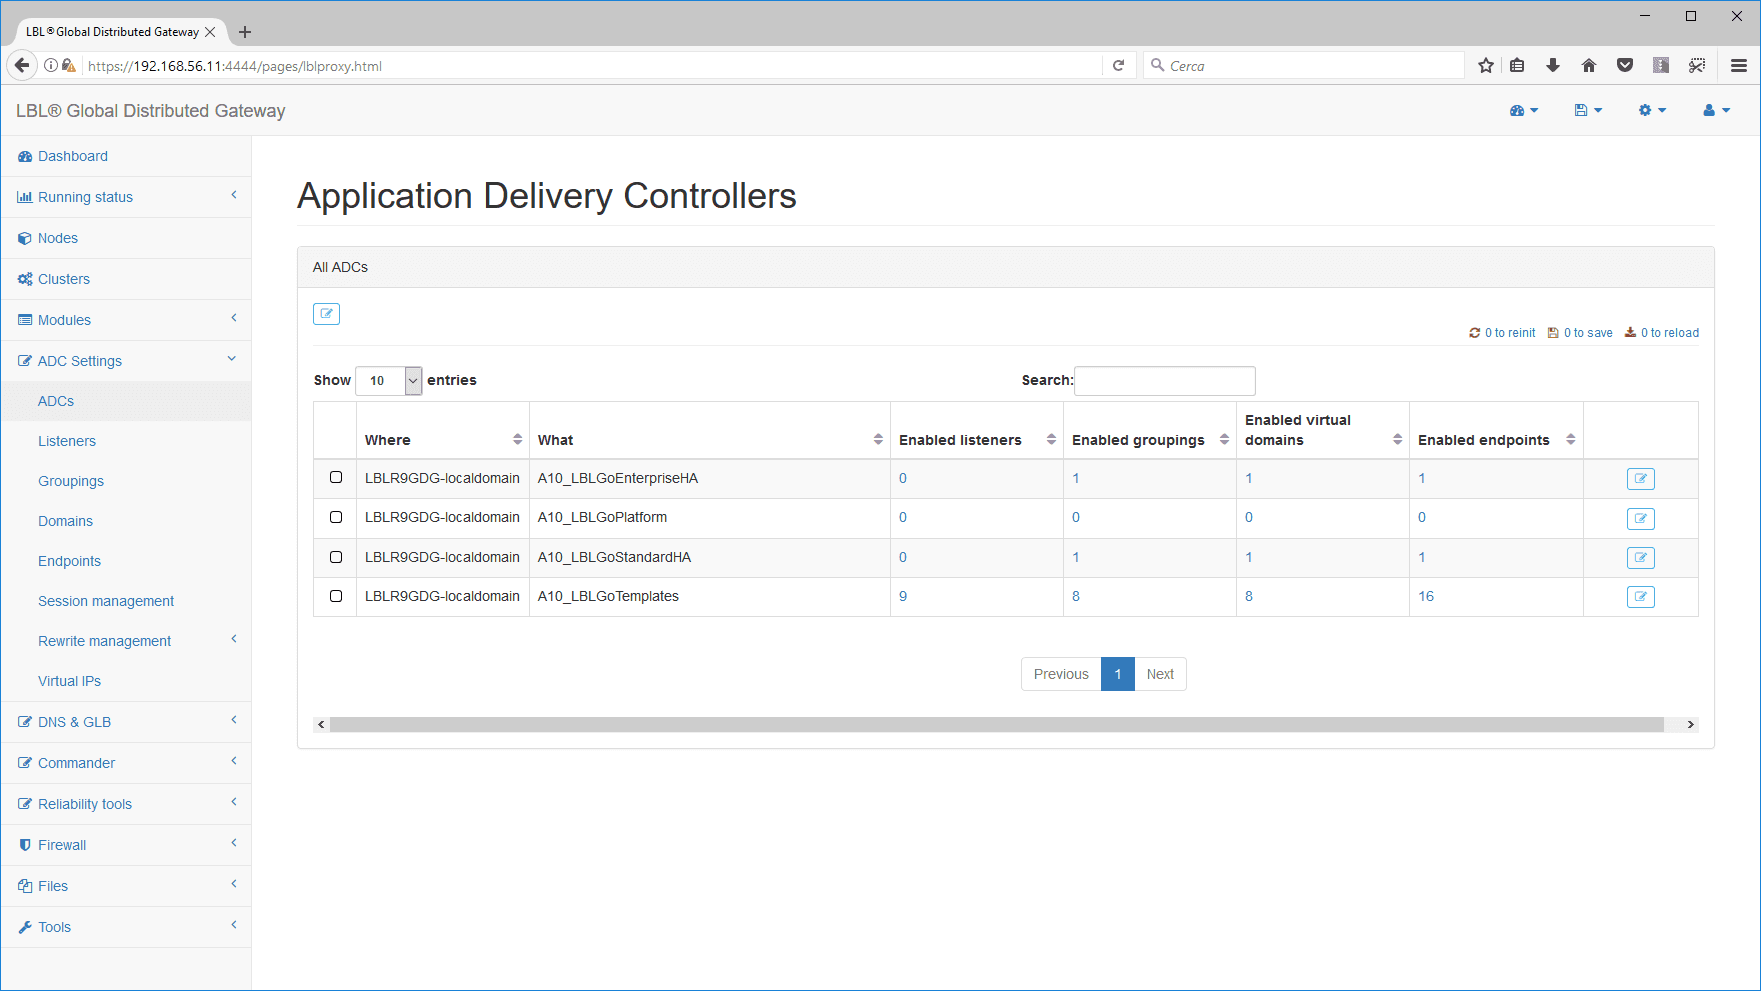
Once ADCs is selected, the system will display available ADC systems including template configurations. In the case of distributed installations, you will see all the reachable forms that you have registered and are entitled to management according to privileges. The system provides a comprehensive view of application routing.
In this case, it will display the three types of deployments available plus template configurations: Enterprise HA (Grid), Platform (single instance), Standard HA (Active stand-by/mutual fail over), Templates (Templates with the most popular rules and routing types). The module on which we are going to perform the first routing is the Platform version that automatically activates at the start of the VAPP.
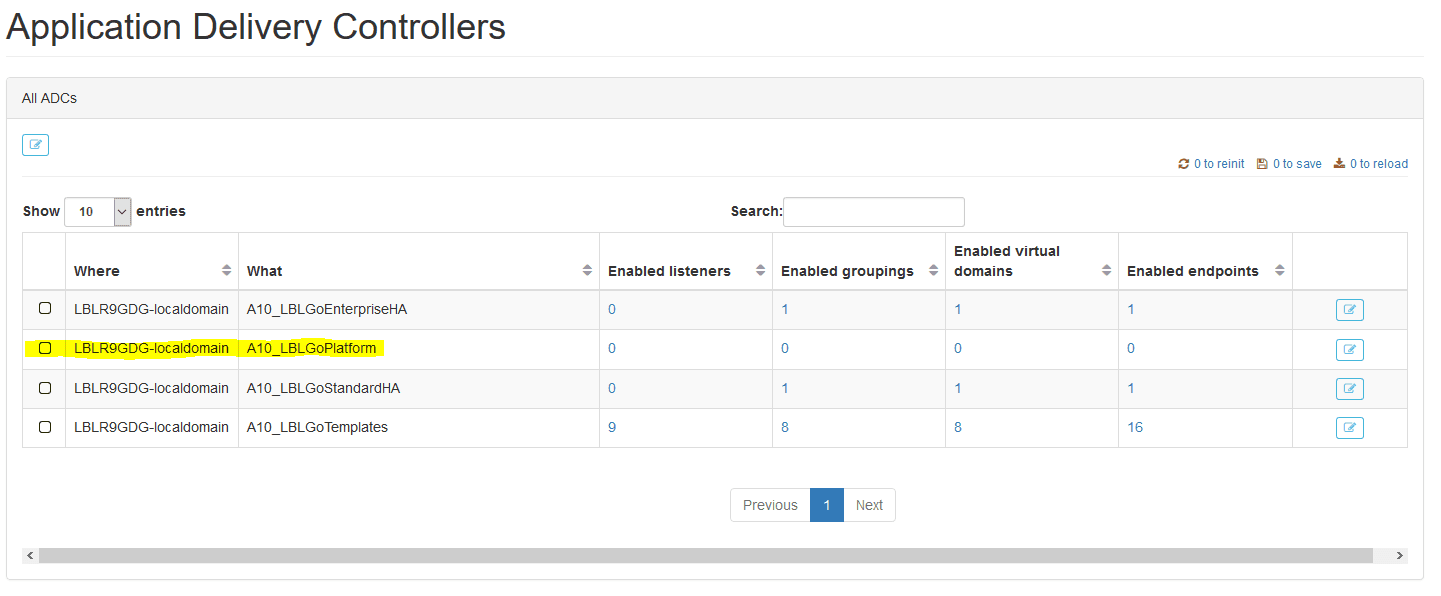
First, we're going to set up the service to balance by creating a group of services.
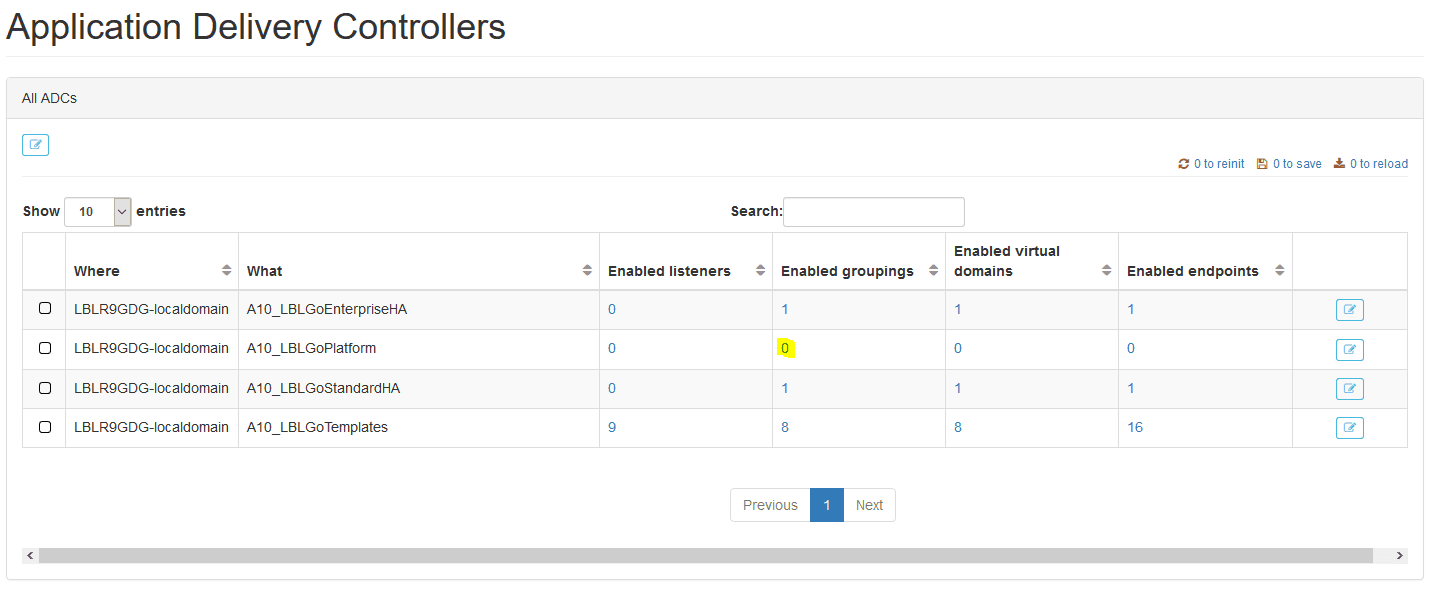
Being the first service, we're going to create the first endpoints group with the button:
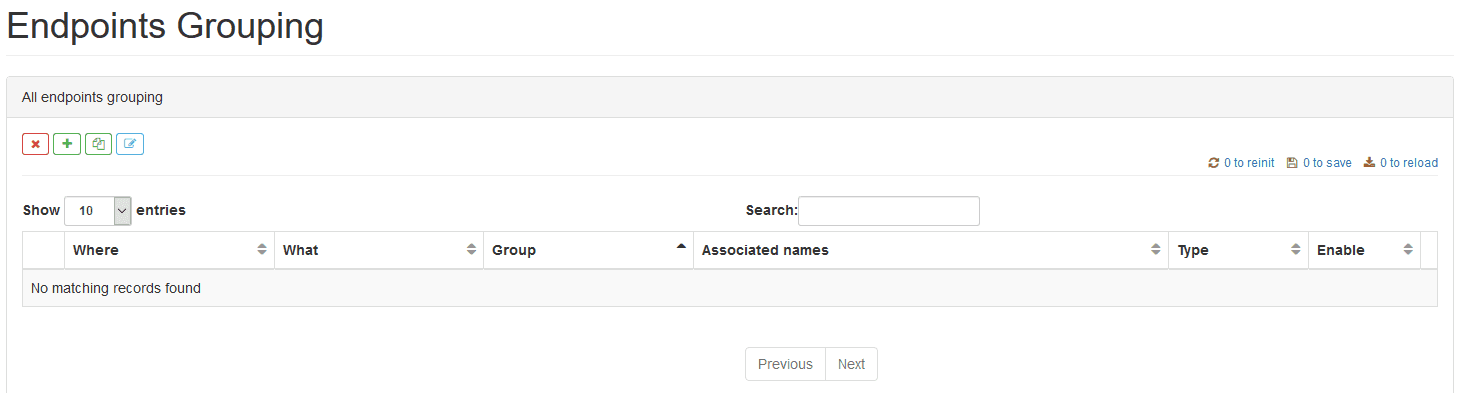
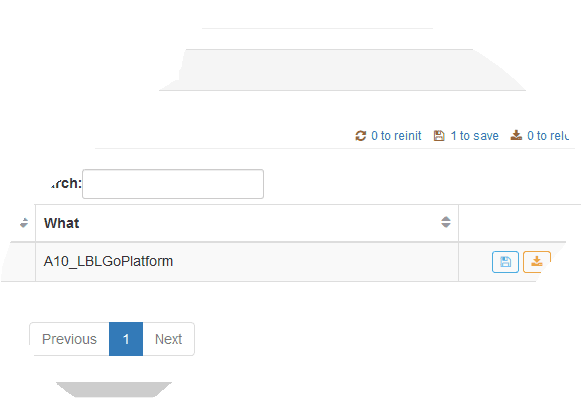
Choose the form you want to add the new group to, in this case
A10_LBLGoPlatform:
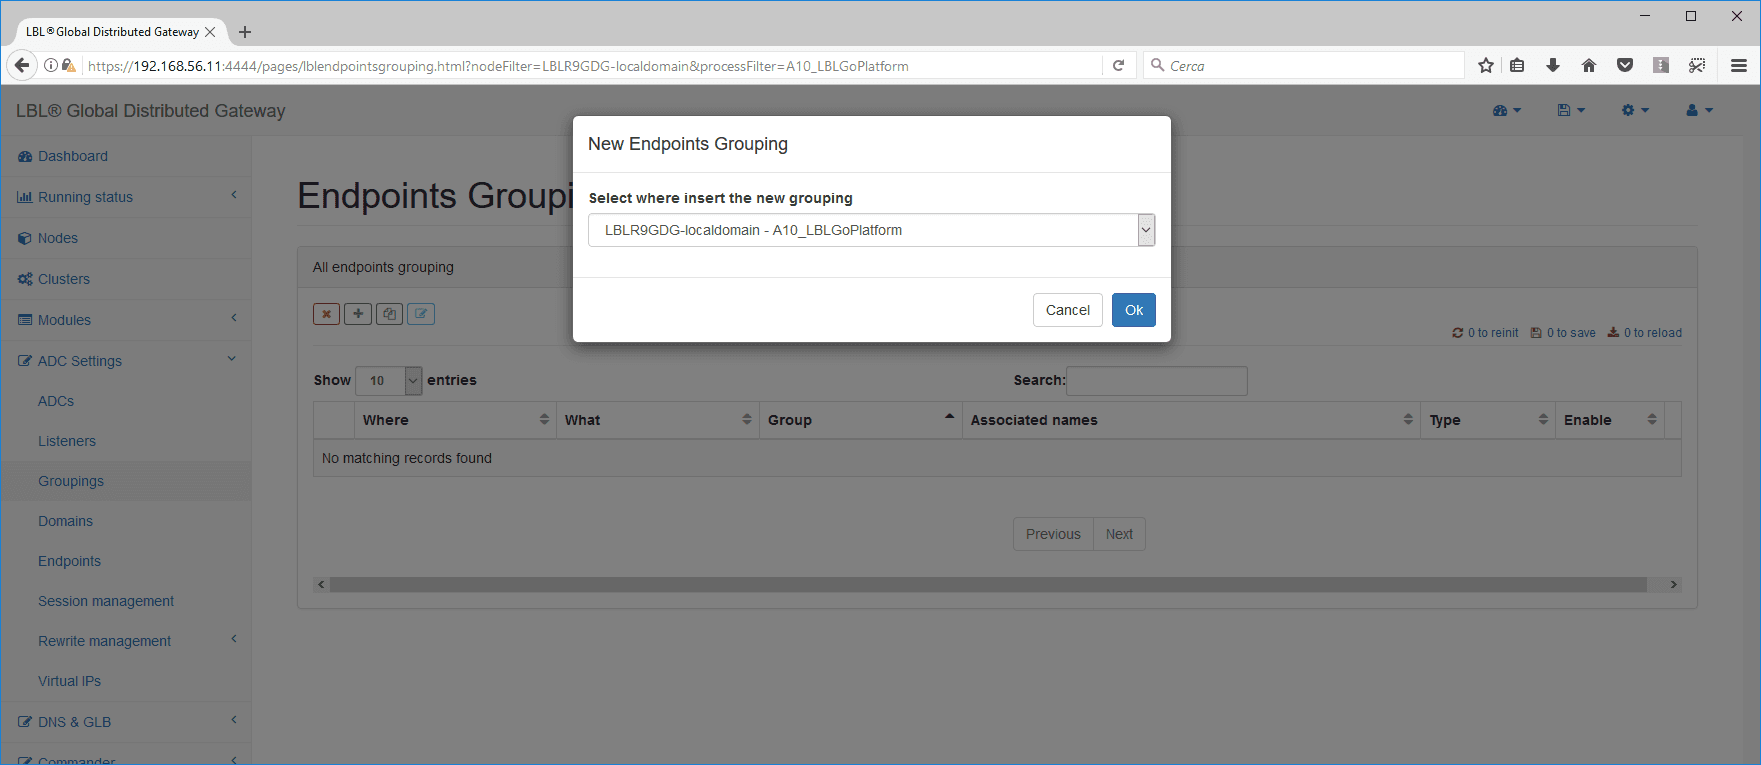
Once you have chosen ok, set a mnemonic name of the group you want to create, e.g. http_https
Then click OK. The new group will appear in the list of groups. Now press the edit key:

... and expand Virtual domains to which we won't indicate anything for now, so it won't check the required domain name or address. Once you have opened Virtual domains, enter popular services you want to balance...
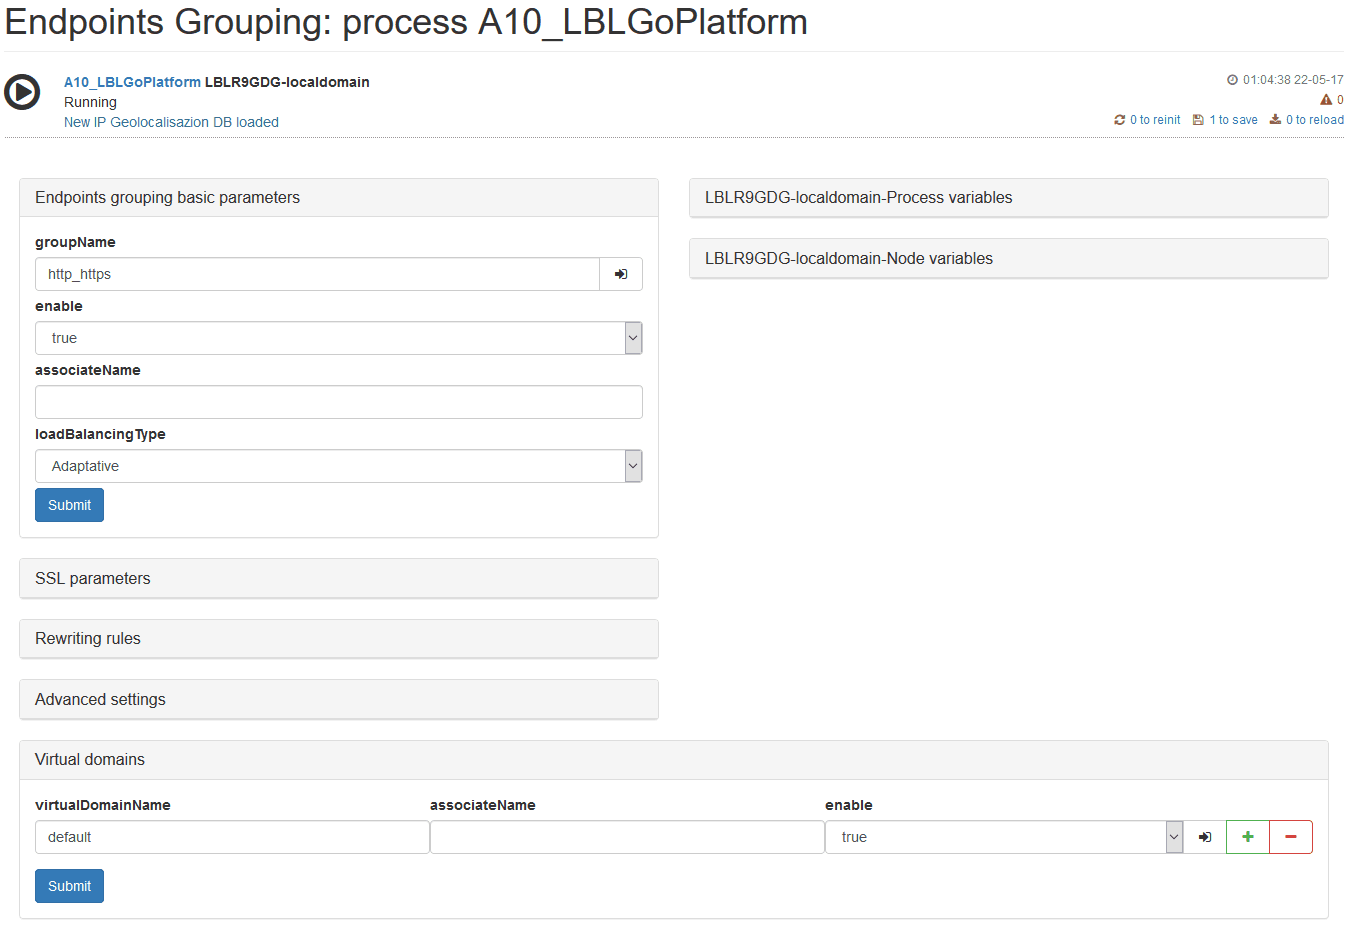
As soon as you get into the details of the services managed by Virtual domains you can type the back-end services by expanding the details of Endpoints:
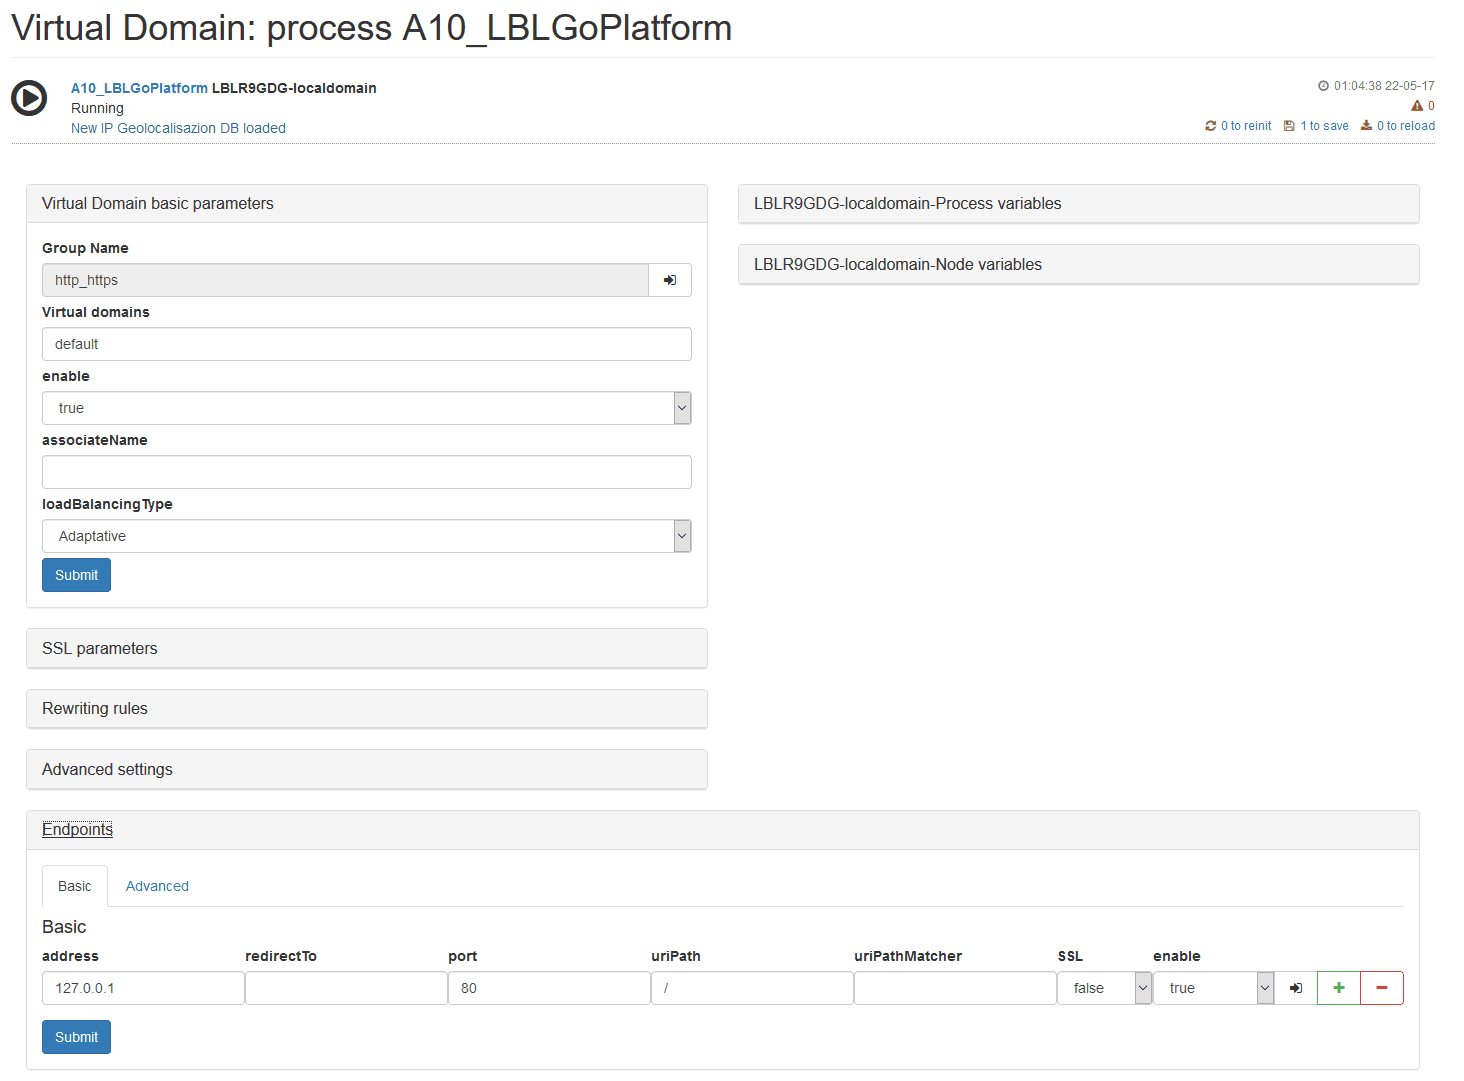
To enter the Backend services, simply enter the following parameters:

After you configure the endpoint, in this case a Tomcat, you must configure the listener that will accept connection requests to be routed on the service group.
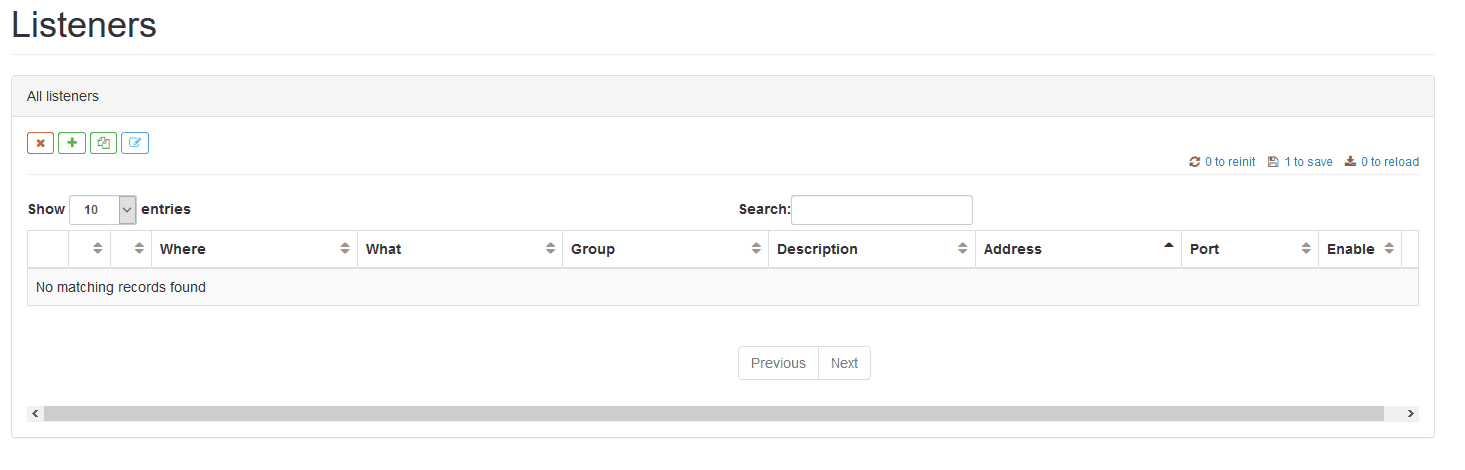
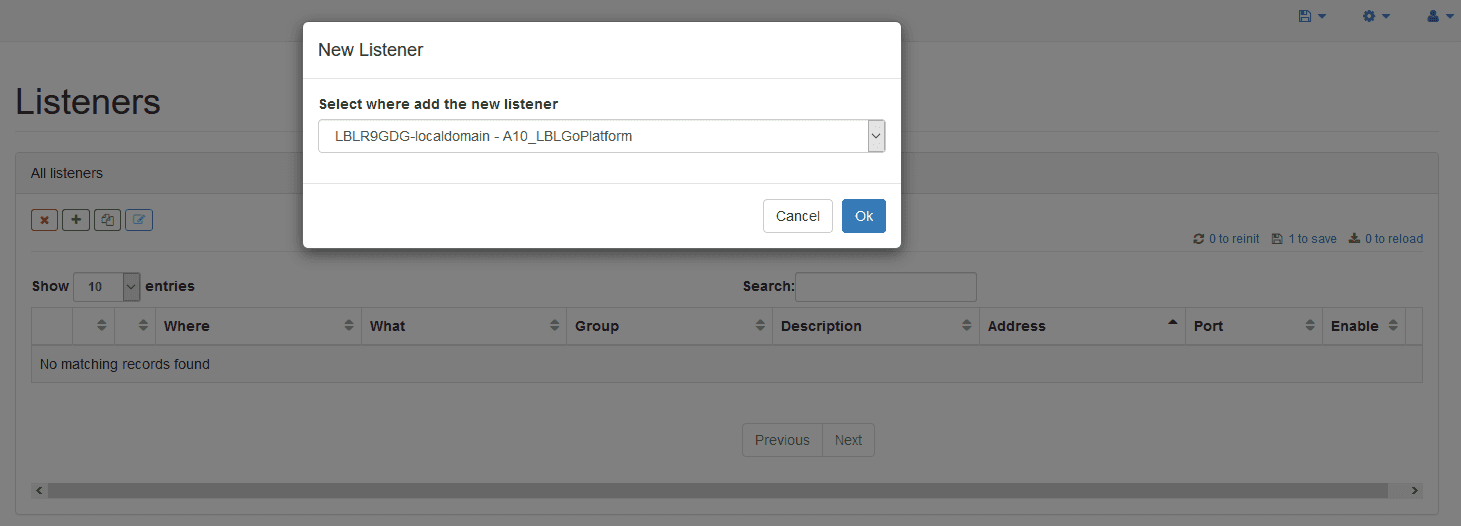
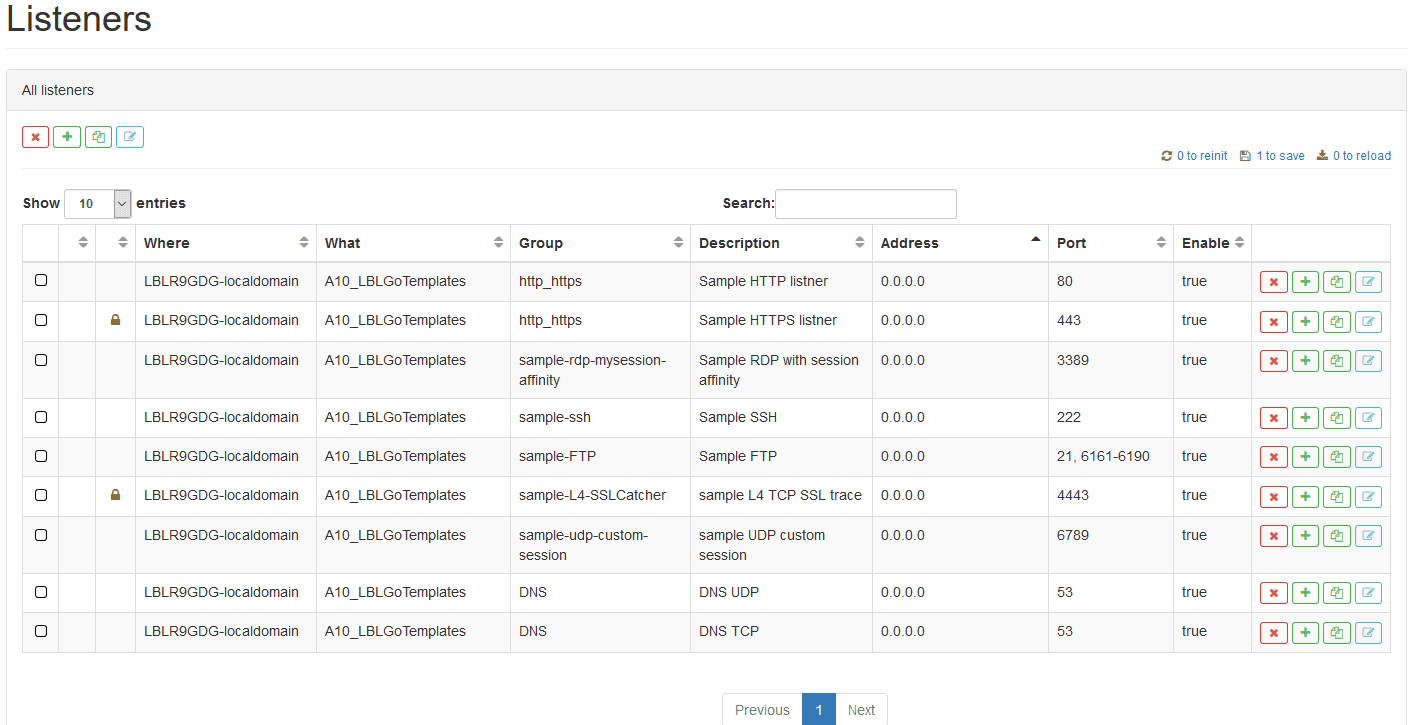
Choose ADCs again, and then choose Enabled Listeners:

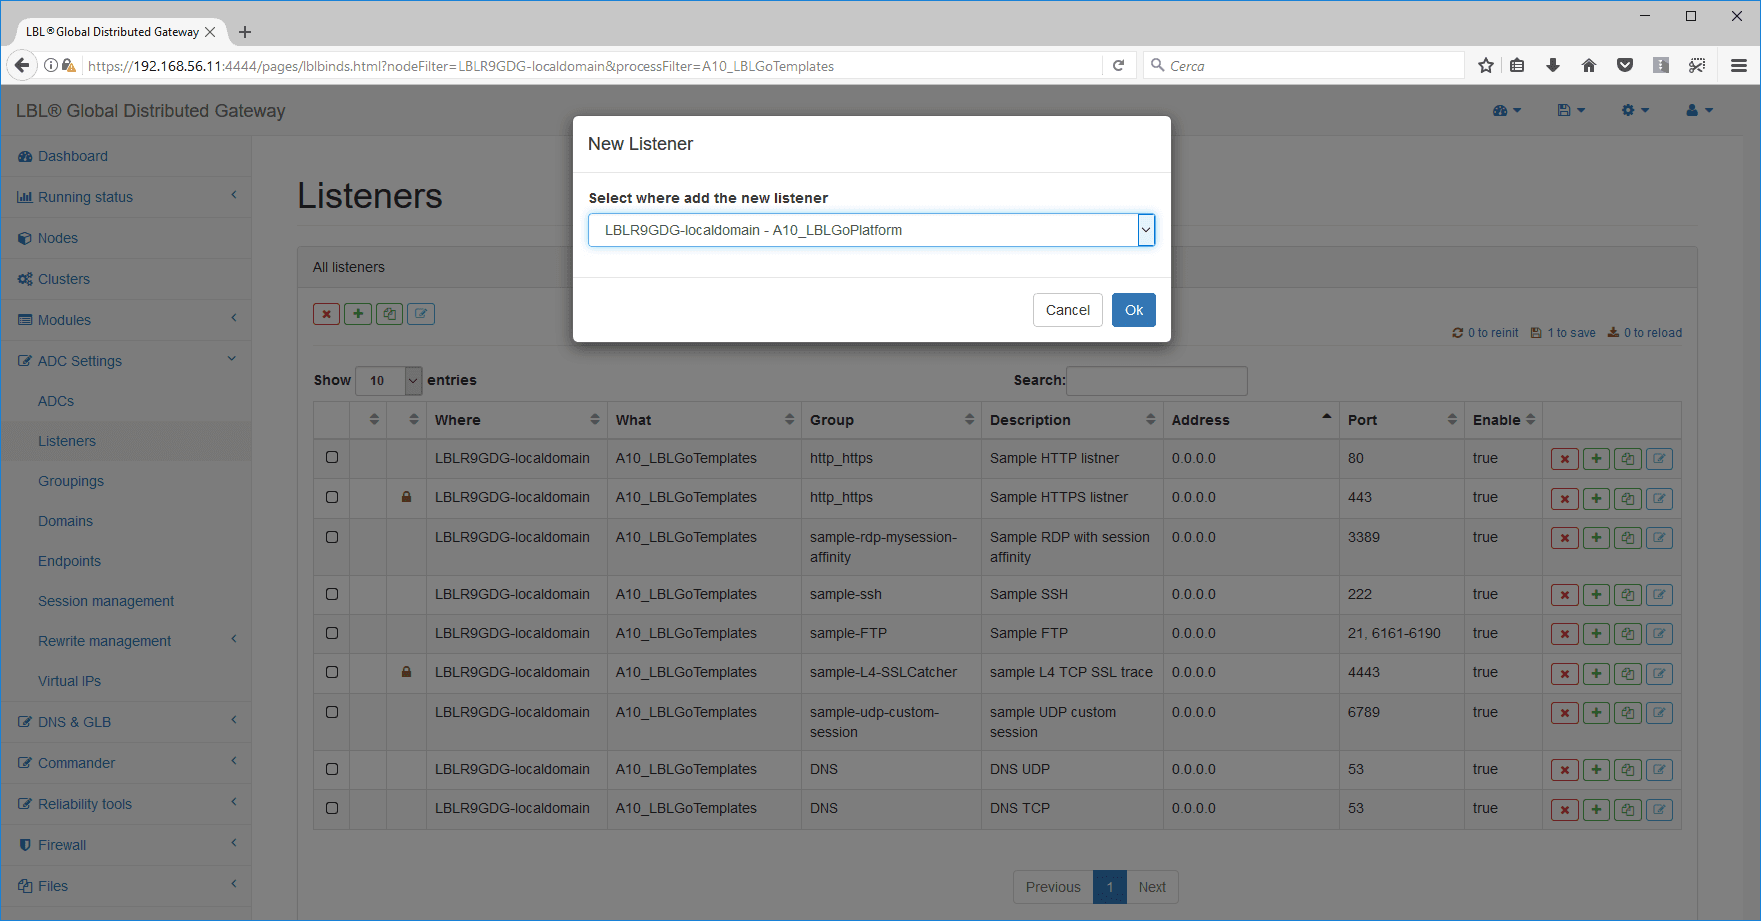
An empty list of listeners will appear, press the plus key to add a listener:
You will be prompted on which module to add a listener and choose
A10_LBLGoPlatform:
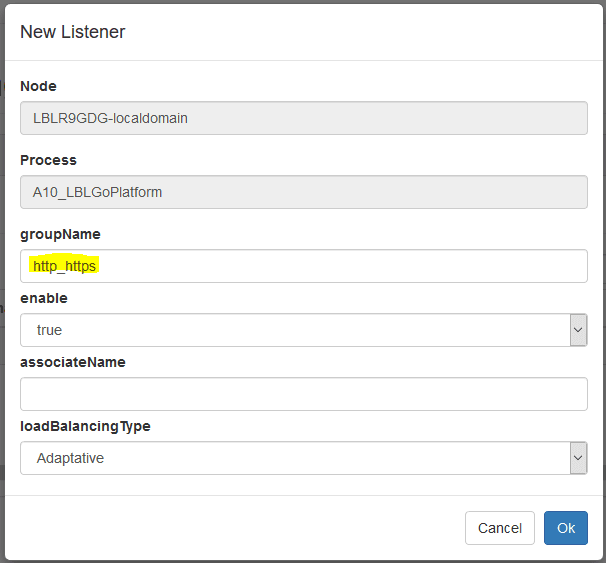
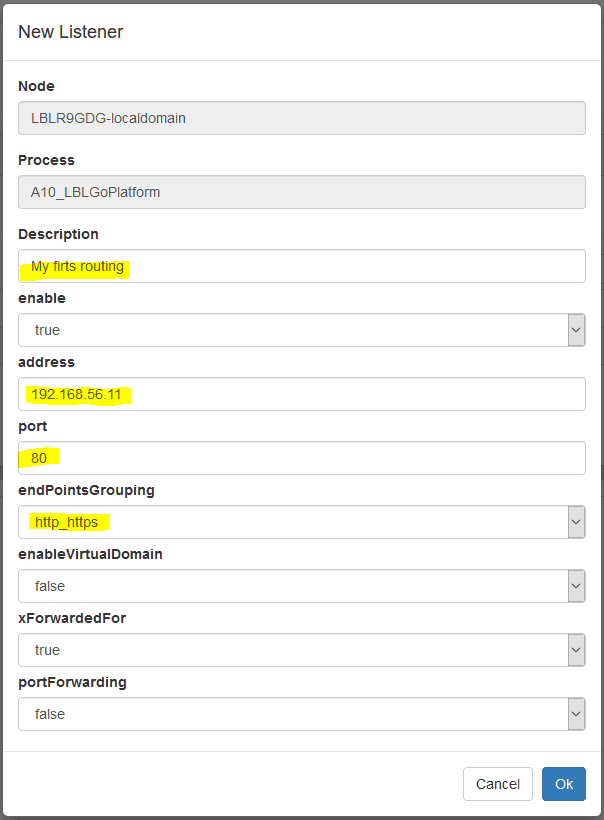
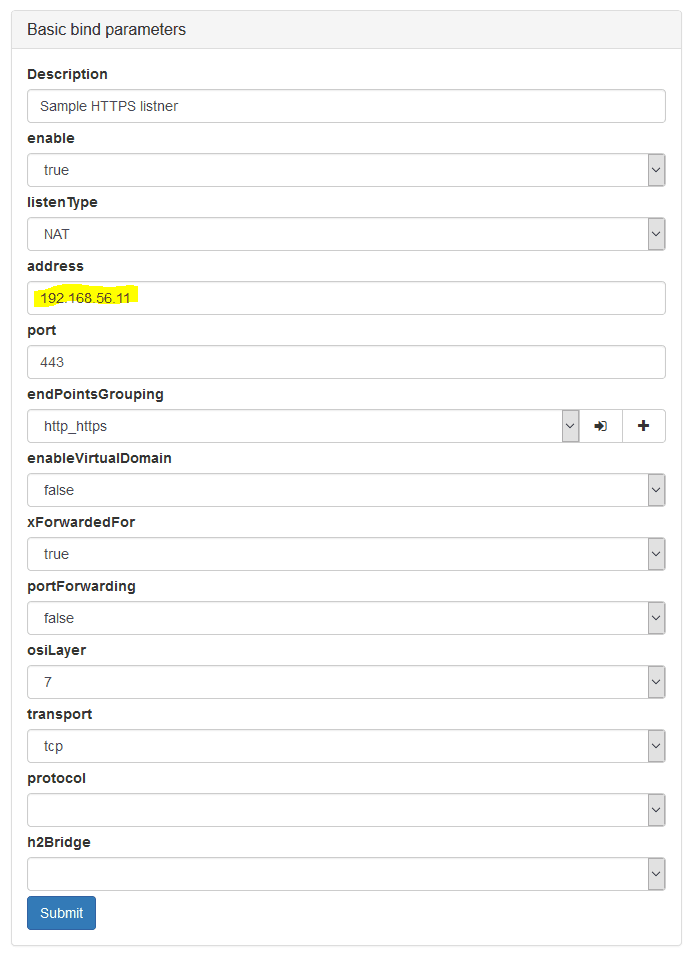
Enter the listener description, address, port you will listen to, and
the group of services you will refer to, in this case, choose
http_https, the newly created group:
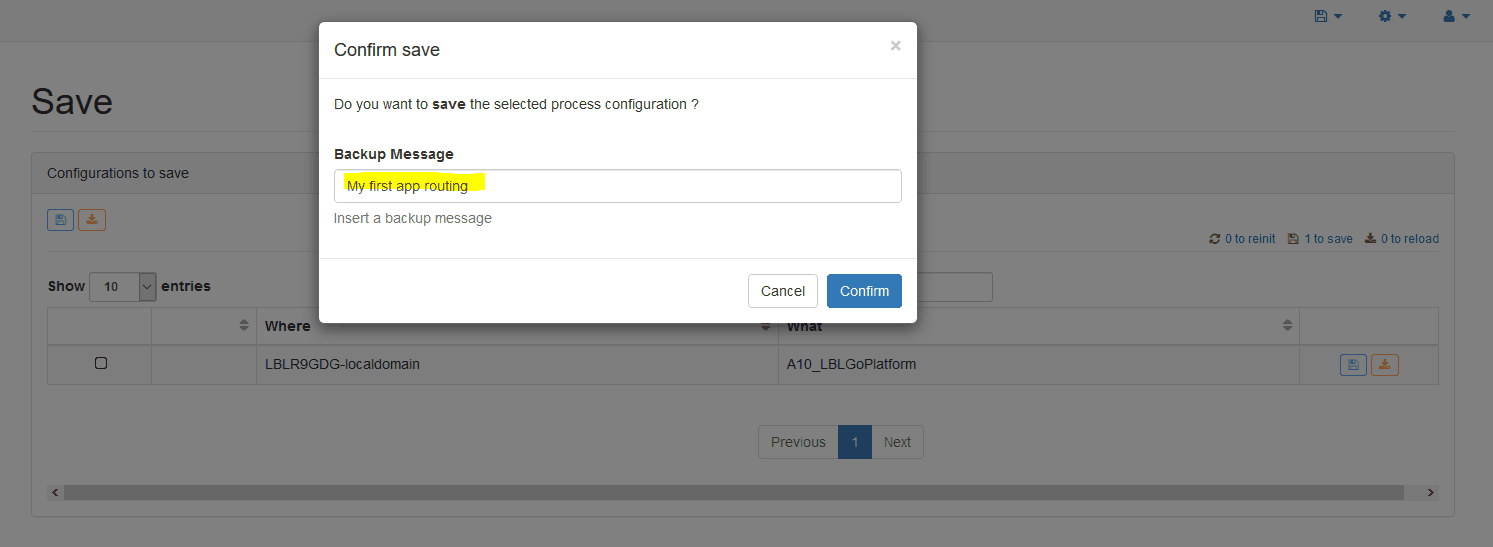
At this point, simply follow the link for saving the data:
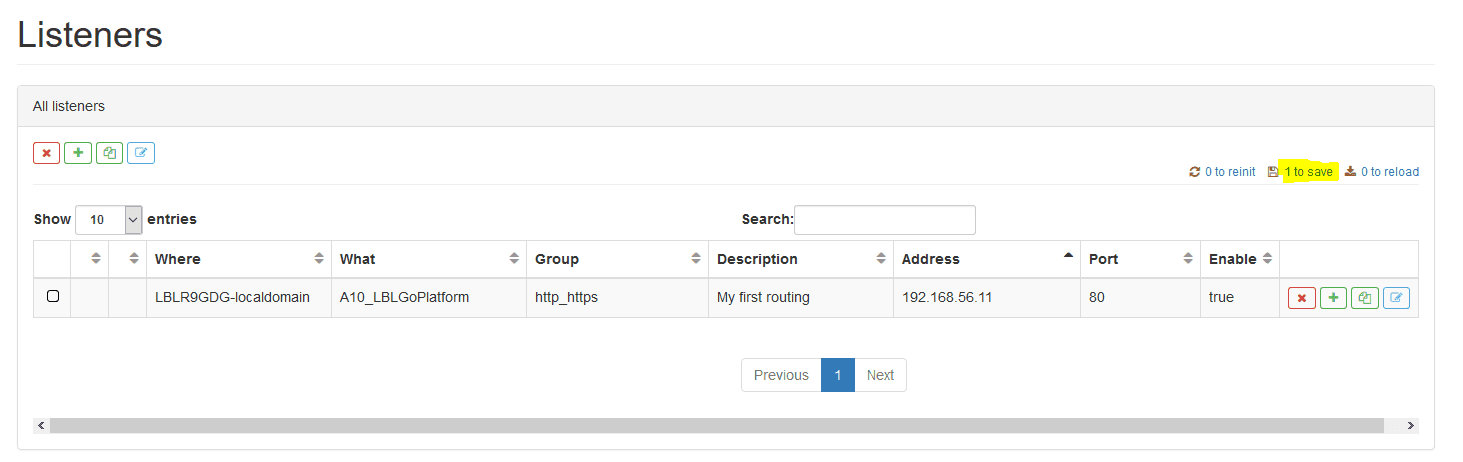
The configurations that have been modified so far will be highlighted. You can proceed with the rescue:
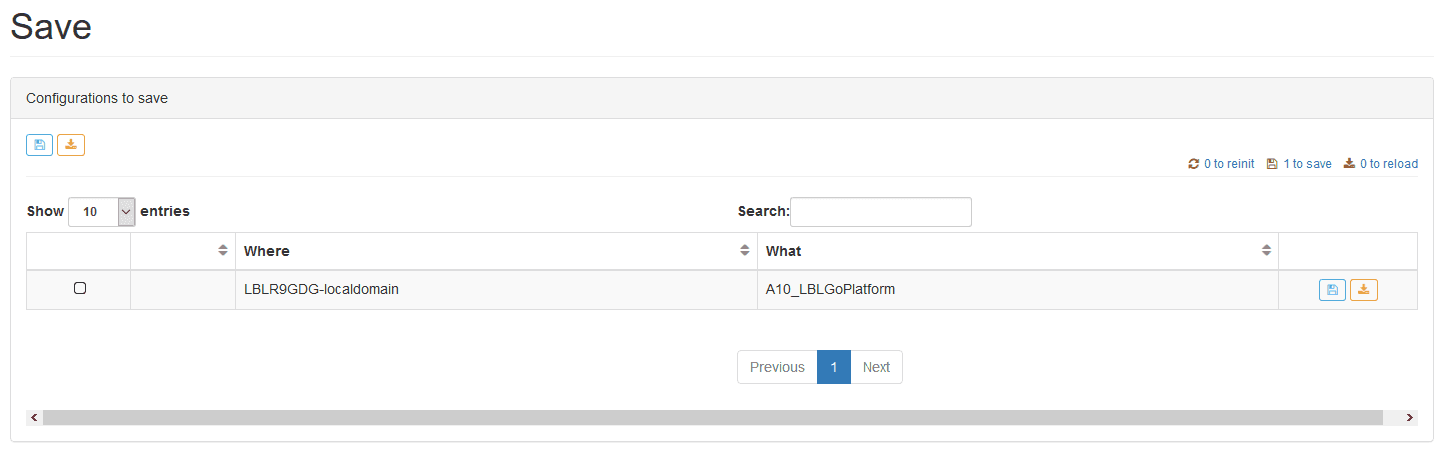
You can indicate the reason for the change, all changes are saved in order to be restored or otherwise verified in case of need.
once the bailout is carried out, it is proposed to make it operational. You can then make changes, save them, and make them operational at different times.
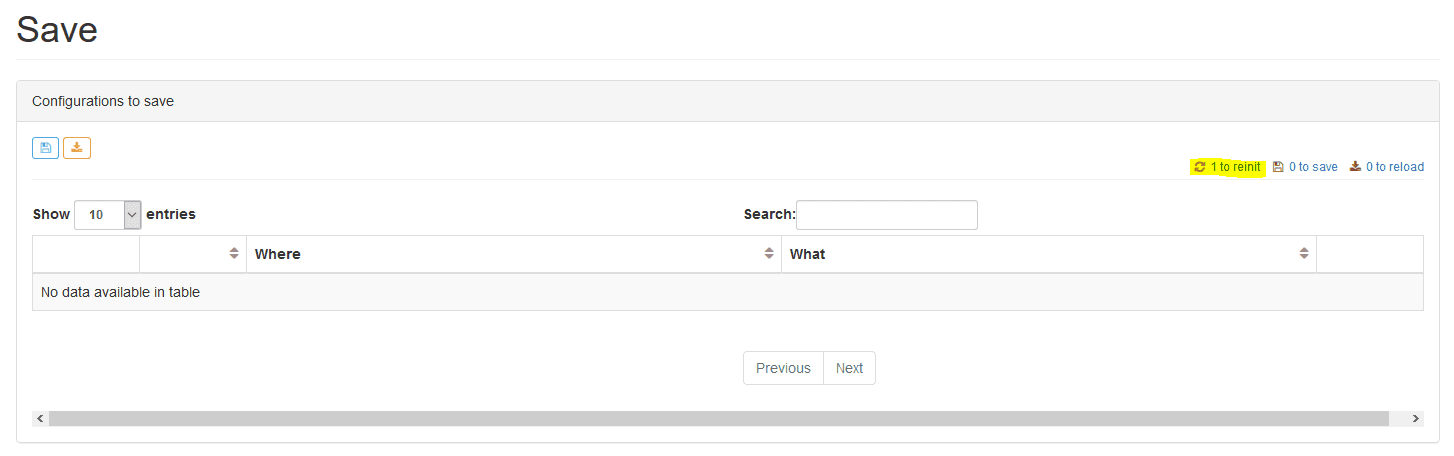
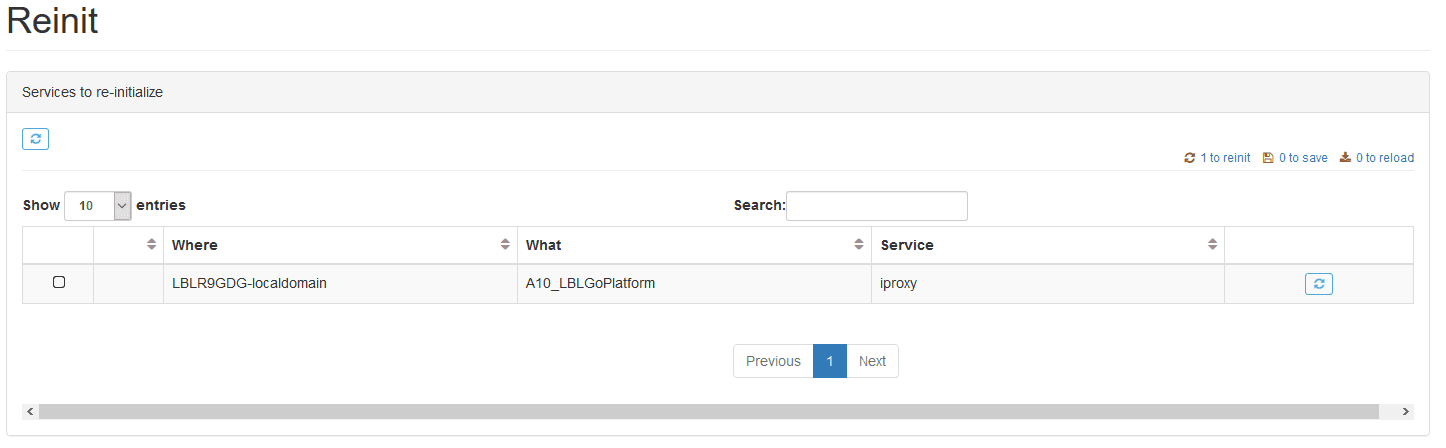
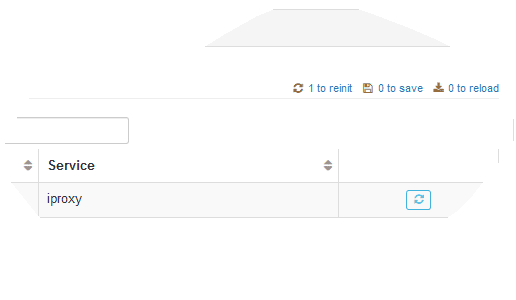
The "Reinit" section will display all saved configurations that can be operational. Pressing the "Reinit" button will make the configuration operational:
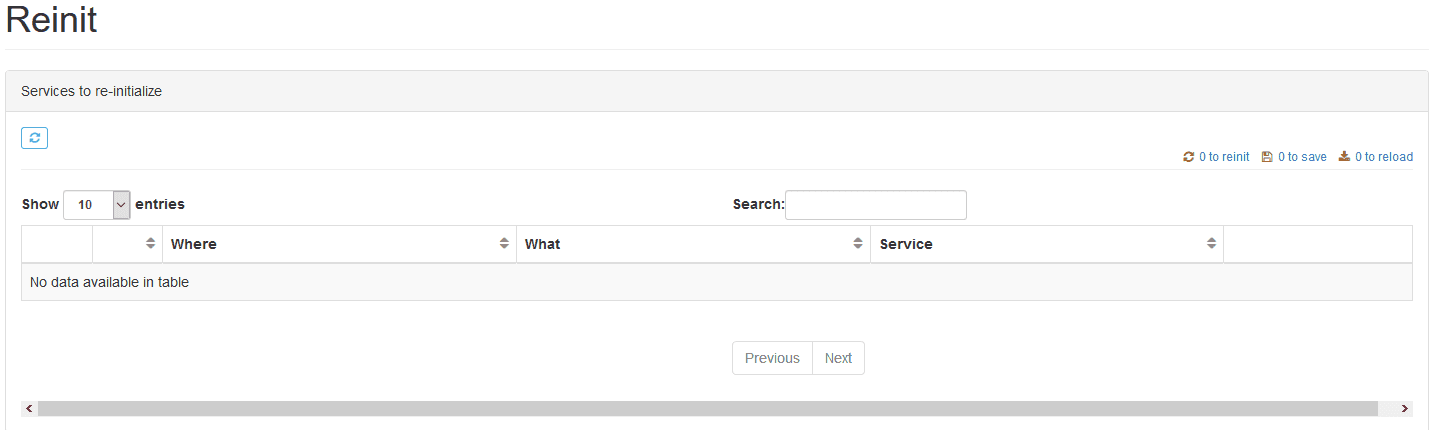
If there are no other modified configurations, the browser will not show any other configurations to be re-initialized.
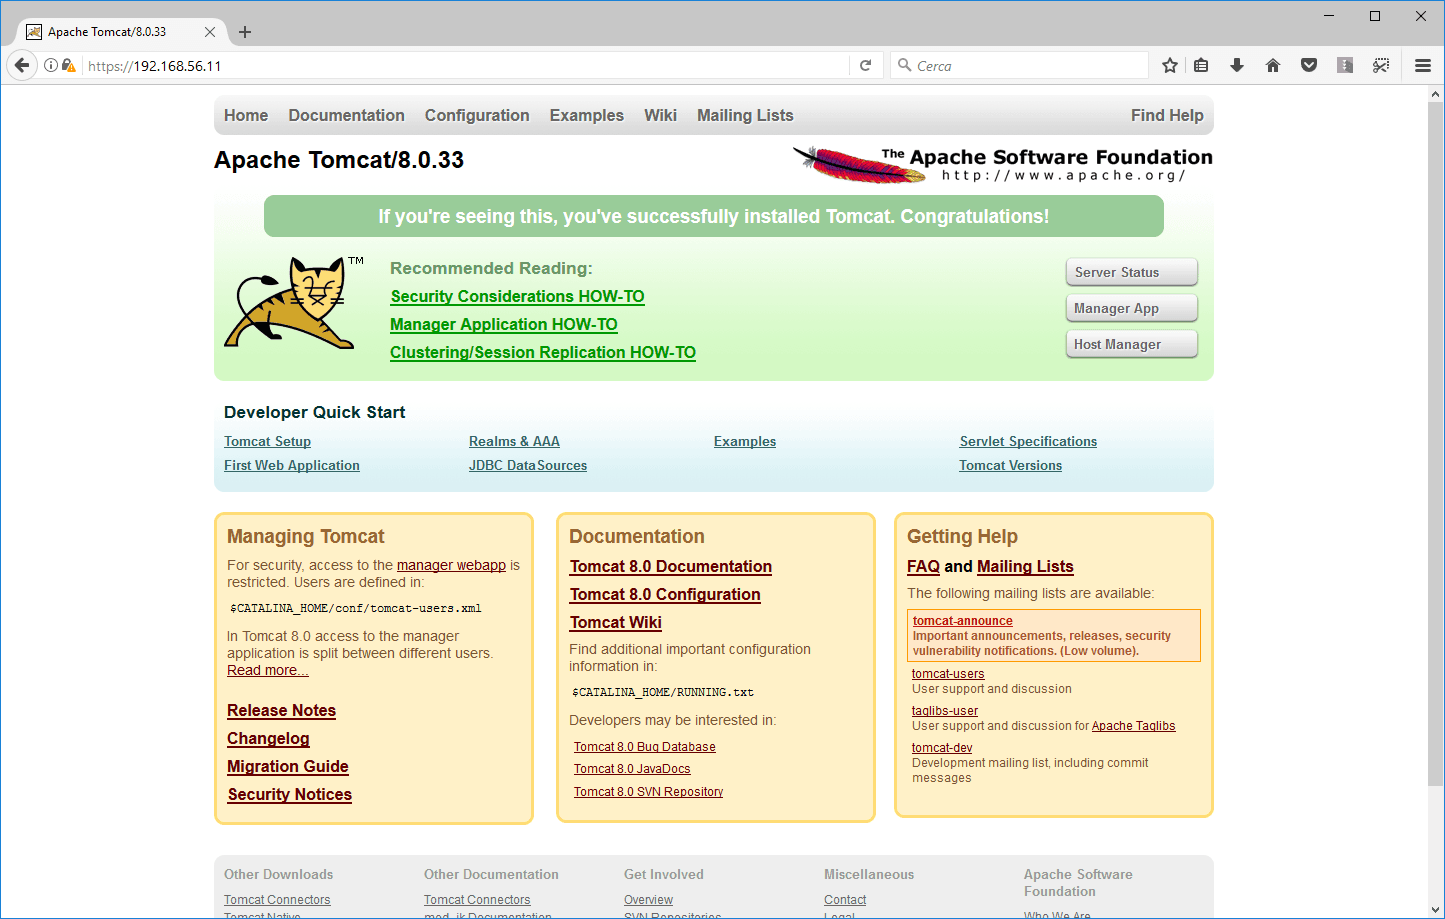
If the specified service is reachable, check with a browser:

Setting up the first https service
To set the first listener in HTTPS while keeping the backend in HTTP, simply use an already prepared template and then, once it works, change it to the essential parameters, typically with its digital certificate:
Choose ADCs and follow the Enabled listeners link of the template:
![]()
The system proposes a series of listeners pre-set by the factory with the most popular protocols. To use them, simply press the Copy button and then select the module on which you want to copy the template:
Select A10_LBLGoPlatform from the drop-down menu and confirm it next:

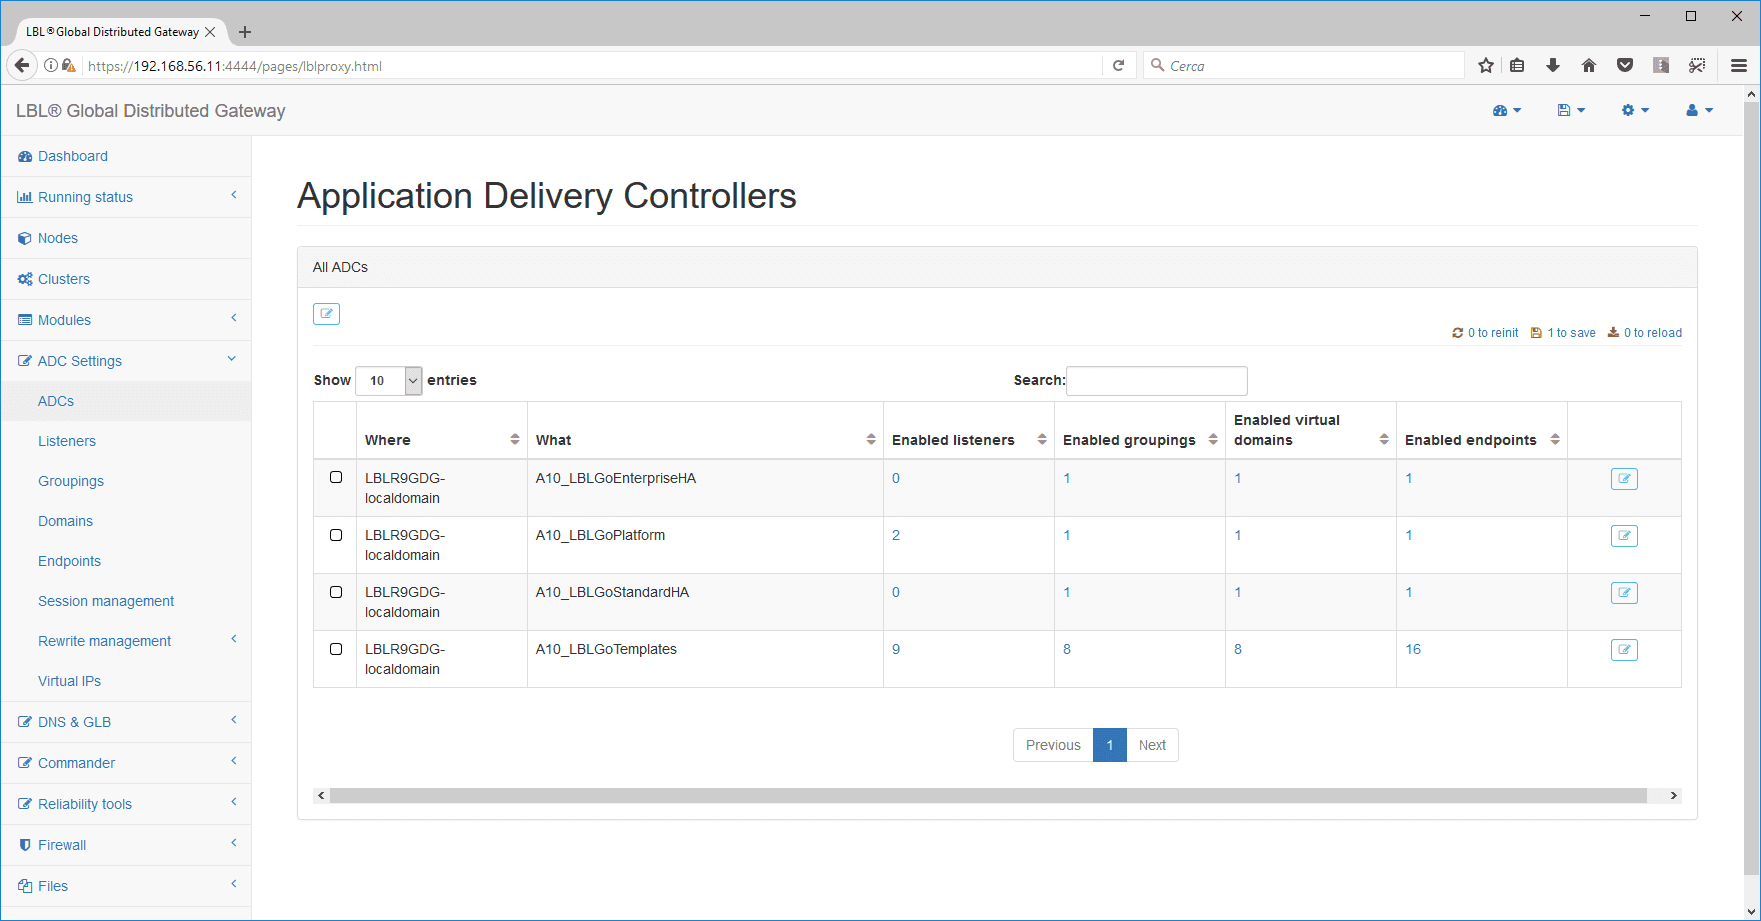
Returning to ADCs, you'll notice that the Enabled listeners indicator will show 2 items:
Following the link will display the two listeners, one of which is derived from the template on which we are going to change the address:
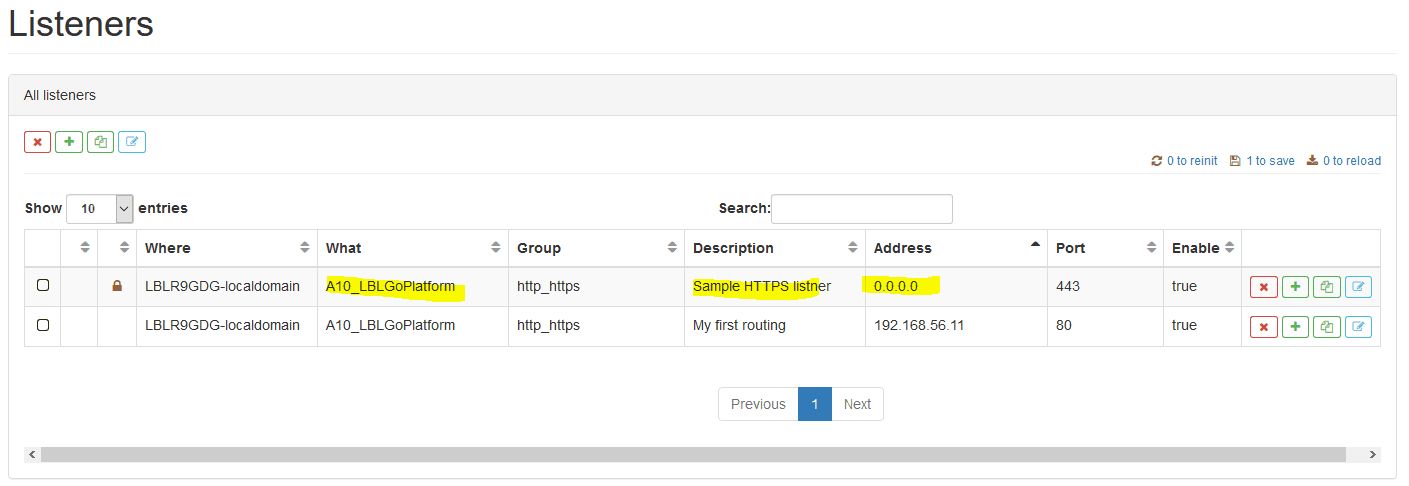
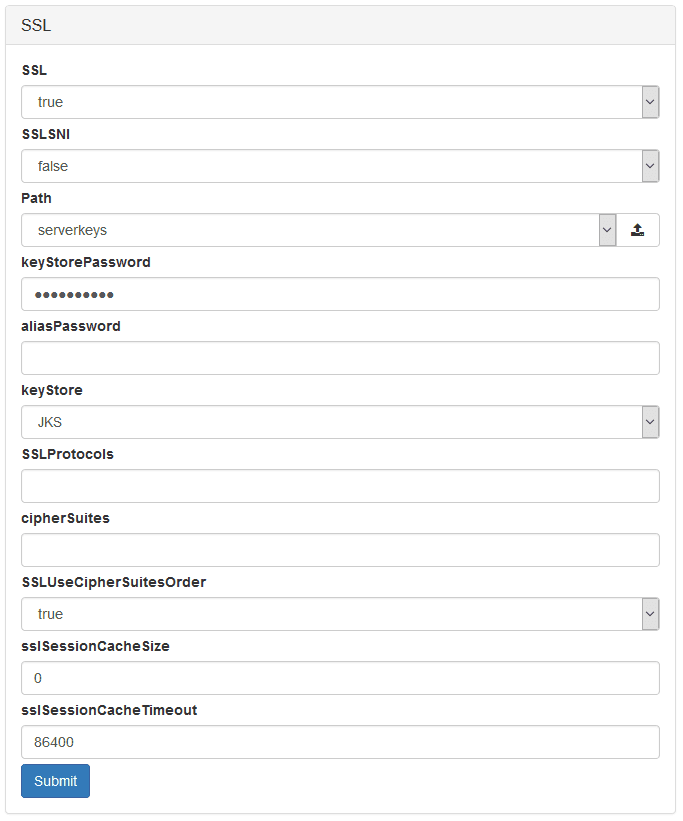
In addition to changing the address, you can check the SSL parameters that we will leave for this exercise unchanged. Oplon Global Distributed Gateway contains some self-signed certificates that are used for this first ssl routing. Below highlights the changed SSL listening address.
![]()
As with the previous parameters, proceed with saving and Reiniting the configuration:
Once you have done the Reinit go to your browser and edit from http to https:
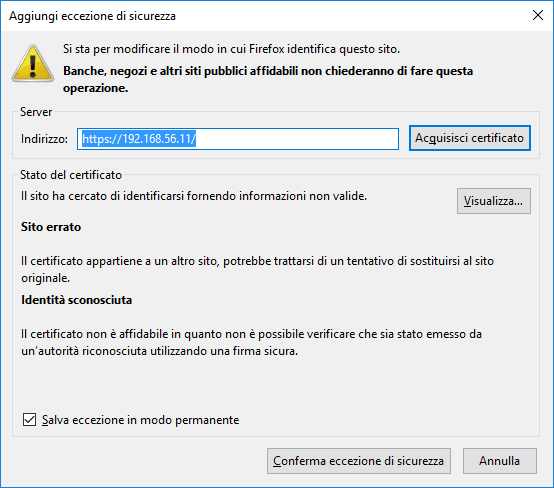
If this is your first time accessing the service, your browser will inform you that the certificate is a self-signed, choose Advanced, add exception, and then confirm security exception
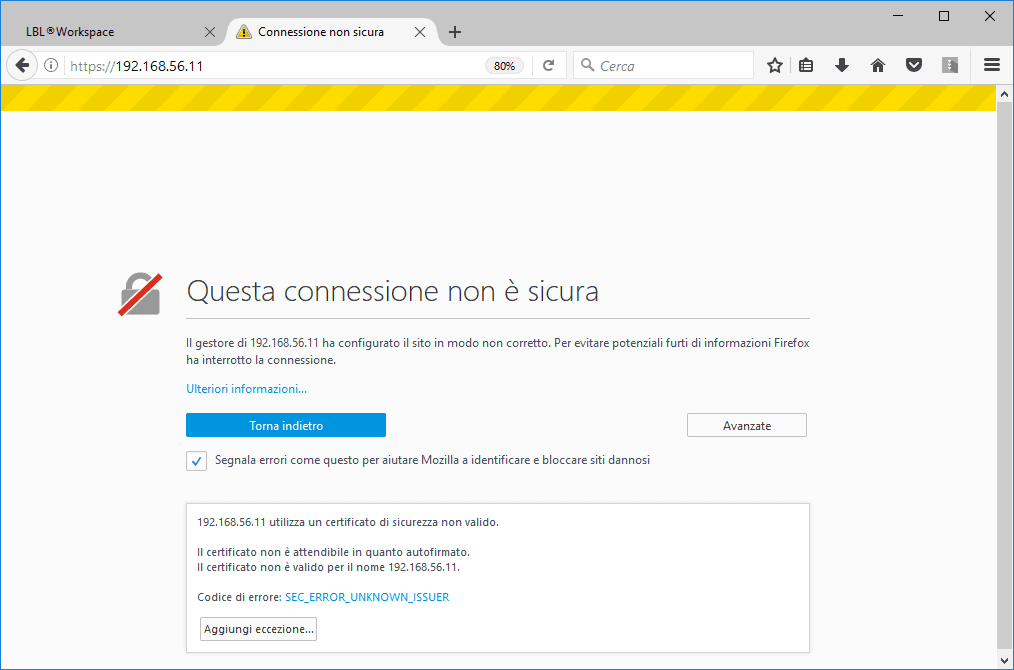
The browser will proceed with the request and then the service will be delivered in HTTPS