CA Certificates management
Introduction
What is a digital certificate?
The digital certificate Is an electronic document that uniquely associates the identity (a person,entity, legal entity, or web service) to a public key. Digital certificates are issued by Authority Certification (also known as CA), which is an entity that is enabled and recognized as “trusted” parties.
The digital certificate contains key information, identity information, and owner (called a subject), and the digital signature of an entity that verified the contents of the certificate (called an issuer). If the signature Is software that examines the certificate relies on the issuer, then it can beIt’s use this key to communicate securely with the subject of the certificate.
Creating digital certificates from Excel files
Creating an Excel file
Create an Excel sheet that contains all the information you need to create the digital certificate for each user:
- Common name (CN): required;
- Organization unit (OU): not mandatory;
- State name (ST): not mandatory;
- Organization (O): not mandatory;
- Email (E): not mandatory;
- Locality name (L): not mandatory;
- Country (C): not mandatory;
- Subject alternative names (SAN): Not required.
Importantly, CN information is present as it is mandatory. It is not mandatory, however, that in the Excel file there is a title for each column or that the information is in a precise order since the converter made available, will ask to associate an Excel column with one of the attributes listed above (CN, OU etc…).

Figure 1: Sample Excel file
Converting Excel to JSON
Converter page
Clicking in the section Tools->Certificates json of the left side menu, the page will be shown where you will need to upload the created Excel file, in order to convert it to a JSON file.
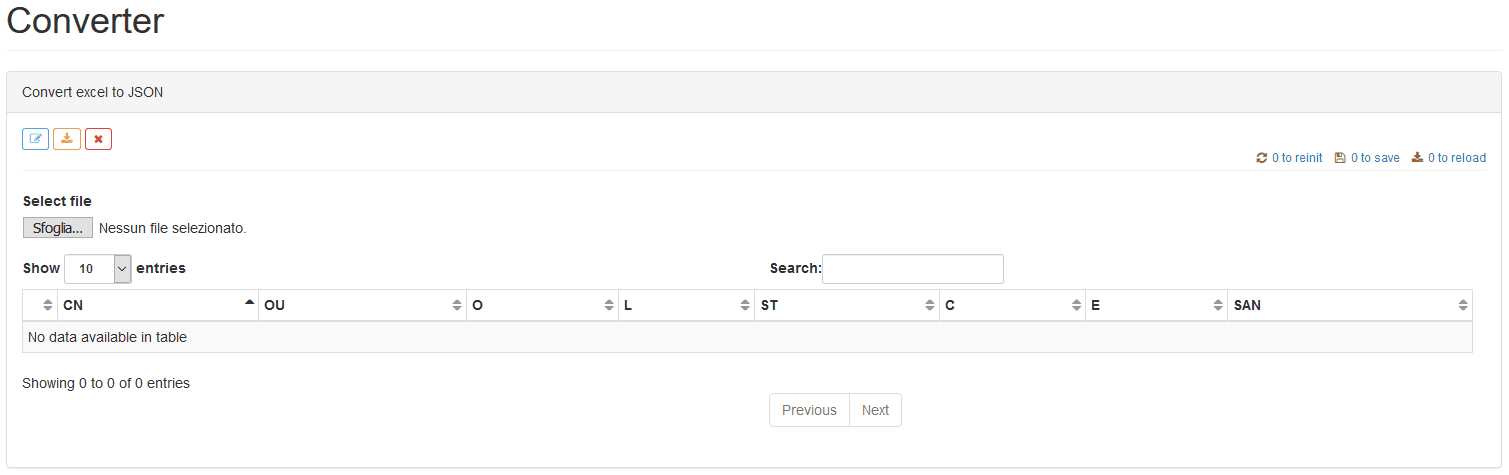
Figure 2: Excel to JSON conversion page
Clicking the Browse will open a window that will allow you to upload the Excel file. After that, you will be asked to indicate which sheet to convert in the drop-down menu Select sheet.
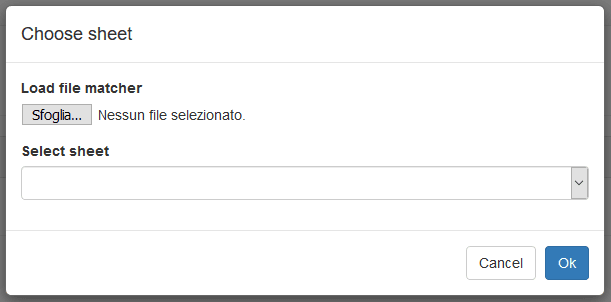
Figure 3: Excel sheet selection
Once you have selected and clicked the button Ok, you will be prompted to associate the fields that form the digital certificate with each column in the Excel, as shown in the following figure:
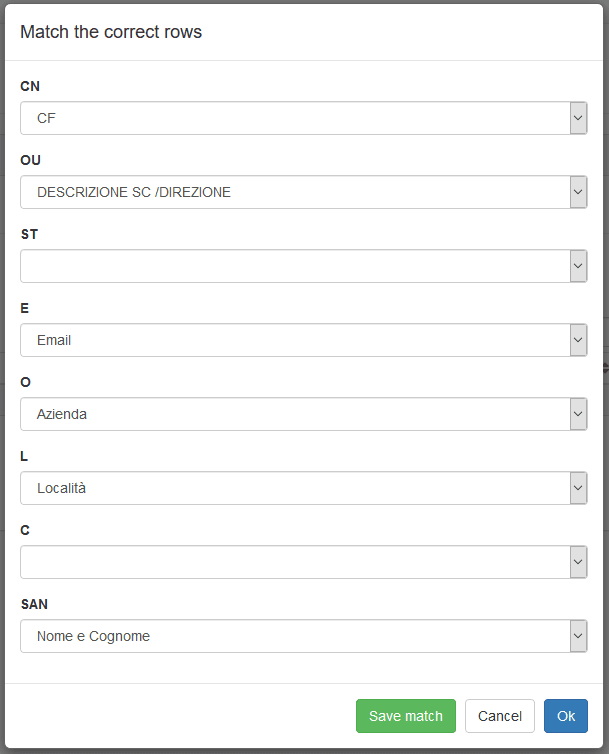
Figure 3: Matcher
After this you can save the newly set configuration, in a JSON file, through the green button Save match. This allows you to load the saved configuration, using the Excel sheet selection screen (see Figure 2), avoiding having to reselect the sheet and all references to the columns during a subsequent conversion.
Clicking the Ok the Excel file will be shown in a table:

Figure 41: Table
With this view, you can delete one row at a time by selecting it and
clicking the ![]()
You can also edit the contents of each cell in the table, in fact you
just need to select the row that contains the cell you want to edit and
click the buttonn ![]() .
.
A window will appear with all the data of the selected row, and you can edit each individual field in that row, as shown in the following figure:
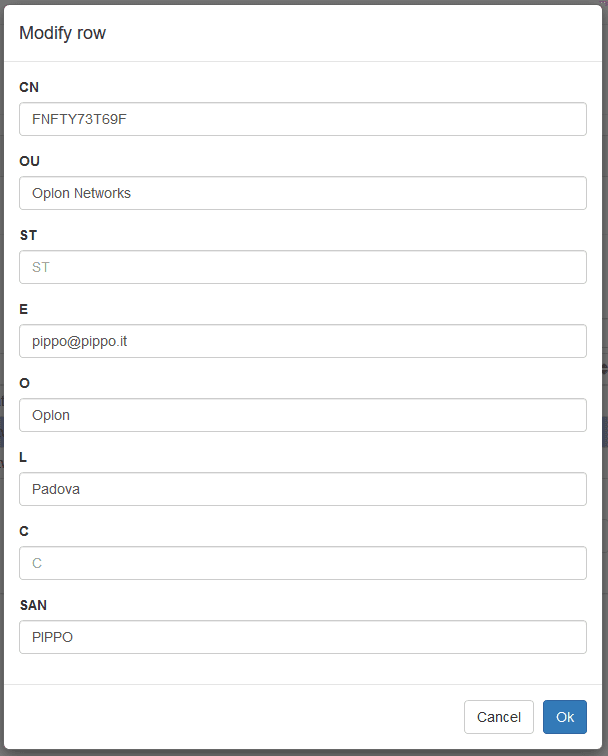
Figure 52: Edit cells of a table row
Once you are sure of the information in the table, you can press the
export button ![]() to save all data as a JSON file.
to save all data as a JSON file.
JSON file import
By having the JSON file exported through the Excel file conversion, you
can import it for the actual creation of certificates.
Go to the section Files->Keystores side menu on the left. A page will
appear containing a list of all keystores in the machine.
Create a new keystore and access the newly created keystore by typing
passwords.
Click the file creation button
![]() and import the JSON file by entering the
password alias.
and import the JSON file by entering the
password alias.
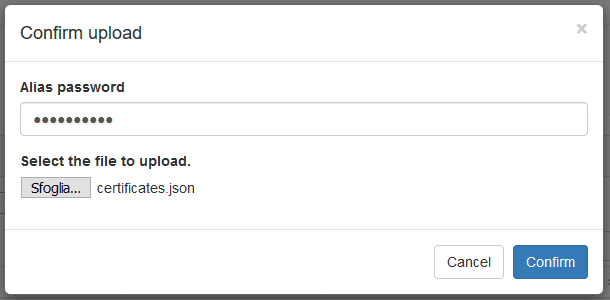
Figure 63: Upload JSON file
Once you click the button Confirm, the certificates to be signed will be shown in a table.
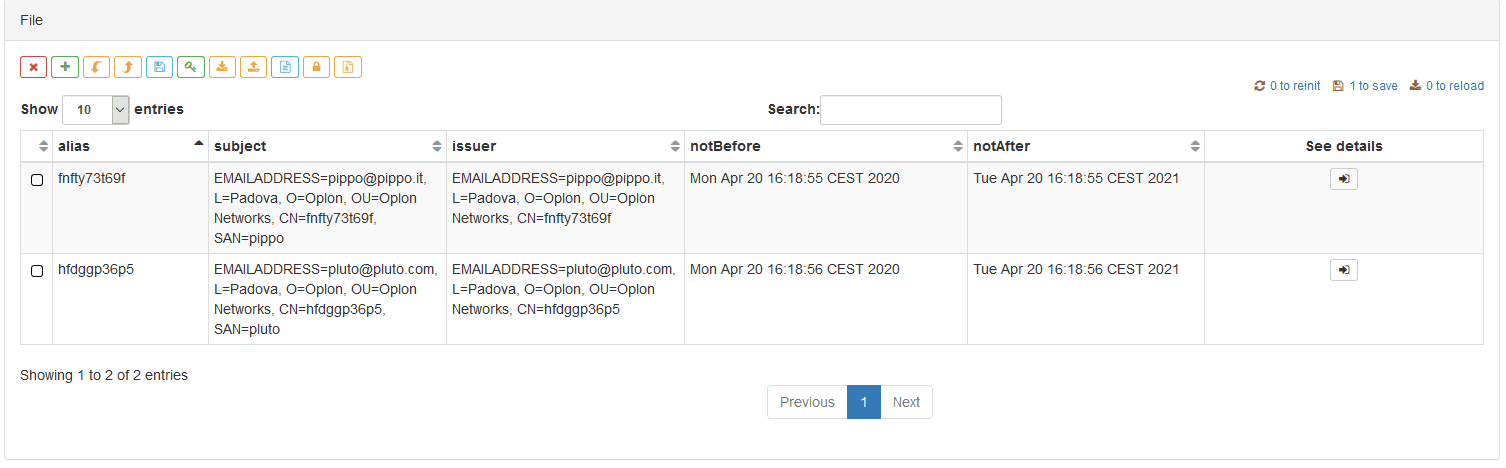
Figure 74: Certificate table
Clicking the keystore signature button
![]() , a 4-step wizard will appear that requires a variety
of information to sign the various certificates.
, a 4-step wizard will appear that requires a variety
of information to sign the various certificates.
Step 1
You are prompted for the password alias of the keystore.
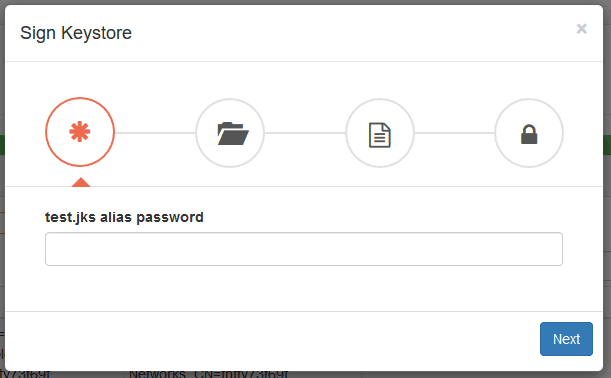
Figure 75: Password alias
Step 2
You are prompted to select from the drop-down menu the keystore that contains the CA with which you want to sign the certificates contained in the keystore, and enter the password of the CA keystore.
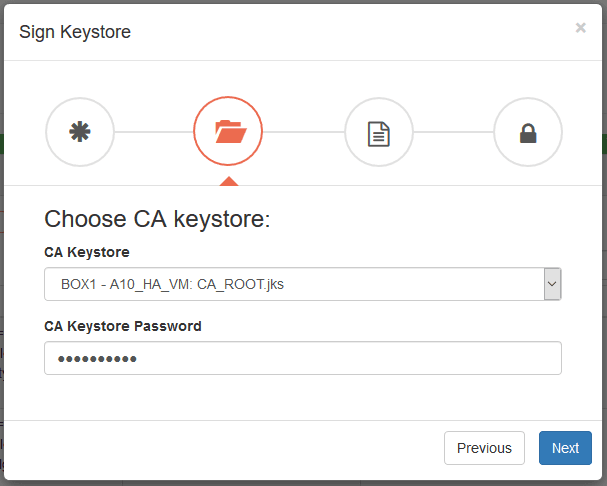
Figure 86: CA keystore
Step 3
You are prompted to select the CA with which to sign our keystore.

Figure 97: CA selection of the keystore
Step 4
You are prompted for the CA’s password alias and the number of days that our certificates are valid.
Tick Renew signin, if you want to re-sign all certificates.
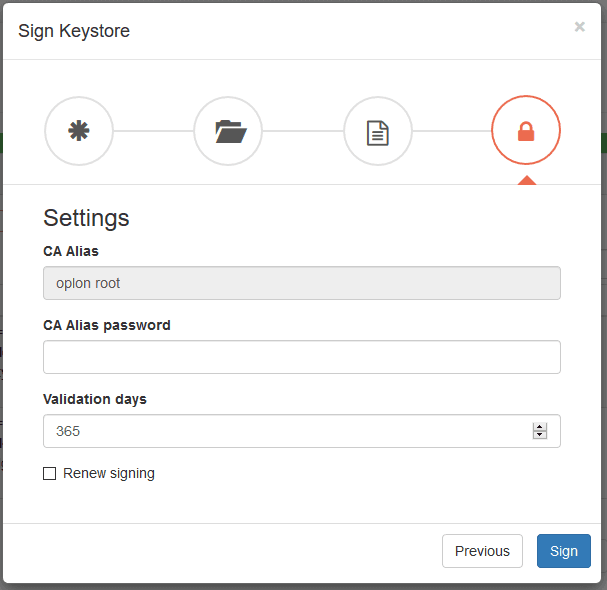
Figure 108: Final settings
Click the button Sign, New10 to sign the keystore and its certificates.
Export of the keystore
Once you have signed the keystore, to zip all its certificates, click
the export to zip button
![]() , enter the keystore and alias password. Press the
button Ok to confirm.
, enter the keystore and alias password. Press the
button Ok to confirm.
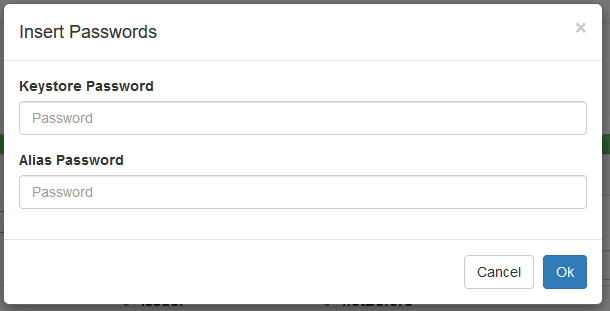
Figure 119: Export keystore in zip format
The export will produce a zip containing the following information:
-
Files with Certificates list in csv format (separator plus ;) and json.
-
As many folders as there are certificates in the keystore. Each folder contains:
-
Digital Certificate ( .p12)
-
Password ( .txt)
-
Recipient email extremes (.txt)
-
The serial number associated with the nominal certificate (.txt)
-
Eml file to double-click to prepare pre-populated email attached certificate to be passed on to the certificate holder
-
Eml file to double-click to prepare the pre-populated email with the password to be transmitted to the certificate holder
-