MFA End User Guide
To create an MFA user you need to register a https://super.oplon.cloud/2fa/signup .
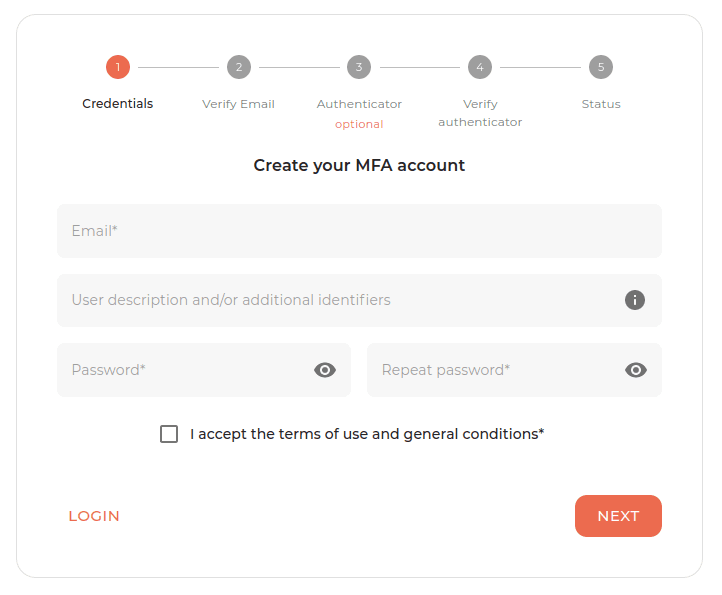
Registration
-
Then insert username, email and password that respects the constraints.
-
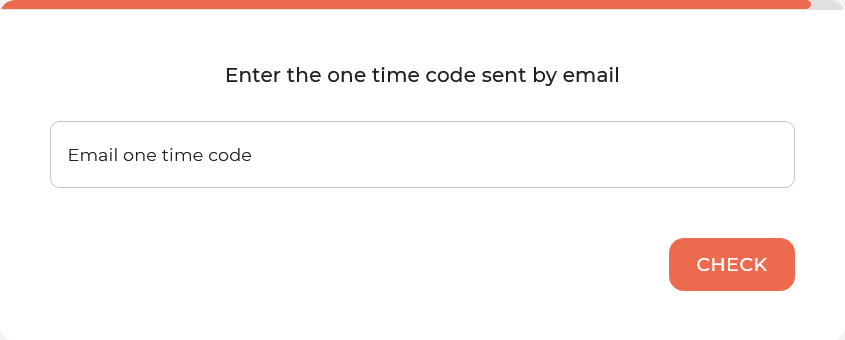
Enter the code sent by email and then verify the email.

Oplon Authenticator (or any other Authenticator app) can also be registered later by accessing the MFA dashboard via email.
-
Registration of the Oplon Authenticator app (optional from points 3 to 4): if you want to proceed then download the application, frame the QR Code and click on the verify button in the browser.
-
To complete the app registration procedure, enter the One Time Code (OTP) generated by the authenticator app into the browser.
MFA Dashboard
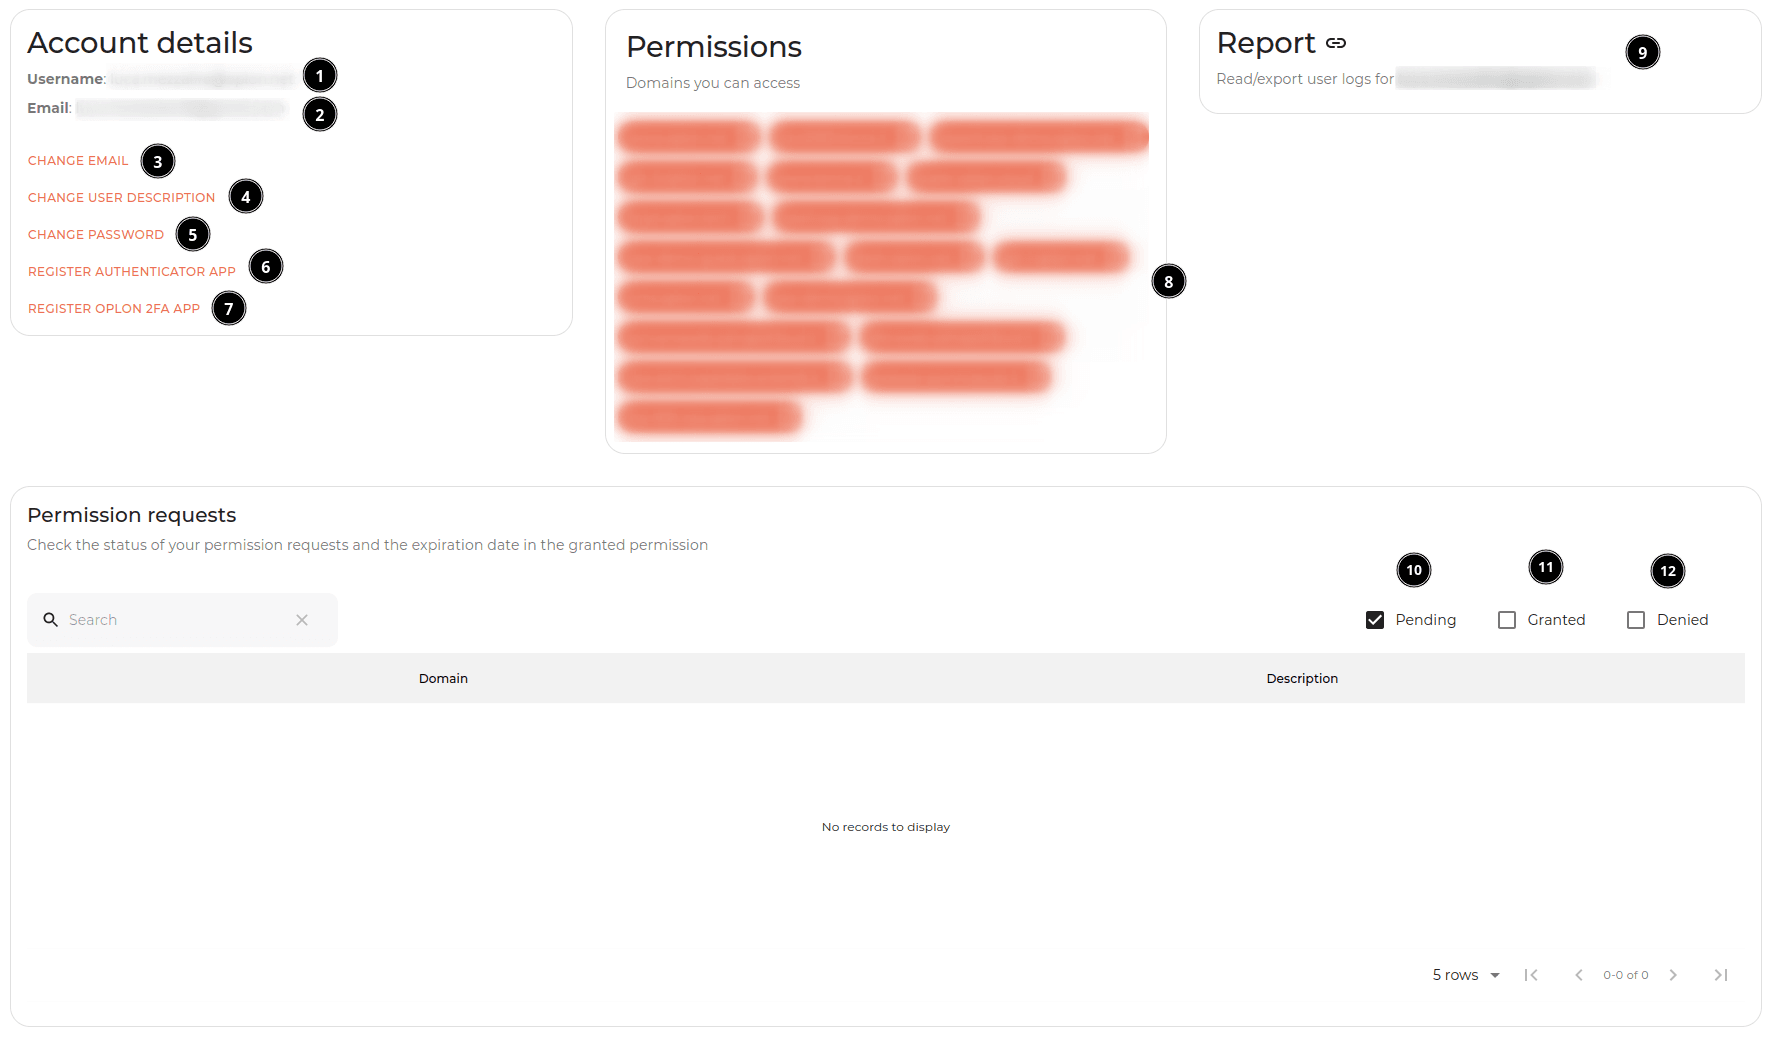
Dashboard legend:
- User username
- User’s email
- Reset and verify the email
- Reset the app to register and verify a new app (and de-register the previous one if it exists)
- Reset and change of password
- List of domains to which the user has access
- User activity log
- Permission request Pending
- Permission request Granted
- Permission request Denied
Login and permission request
To request a permit, simply visit the MFA-protected resource you want access to. The resource will redirect you to https://super.oplon.cloud/2fa/login .

After entering the username and password, we will proceed to the second authentication factor (app or email).
Authenticator app and email:
Oplon 2FA:

In the dashboard, therefore, there will be an alert to request permission from the manager:

By clicking request permission, the manager will be asked for permission. As soon as the manager accepts the permission, the user will be notified by email.
Login with permission already accepted
After the manager has accepted the permission, the resource can be accessed simply visiting the MFA-protected resource and logging in with double-factor authentication.